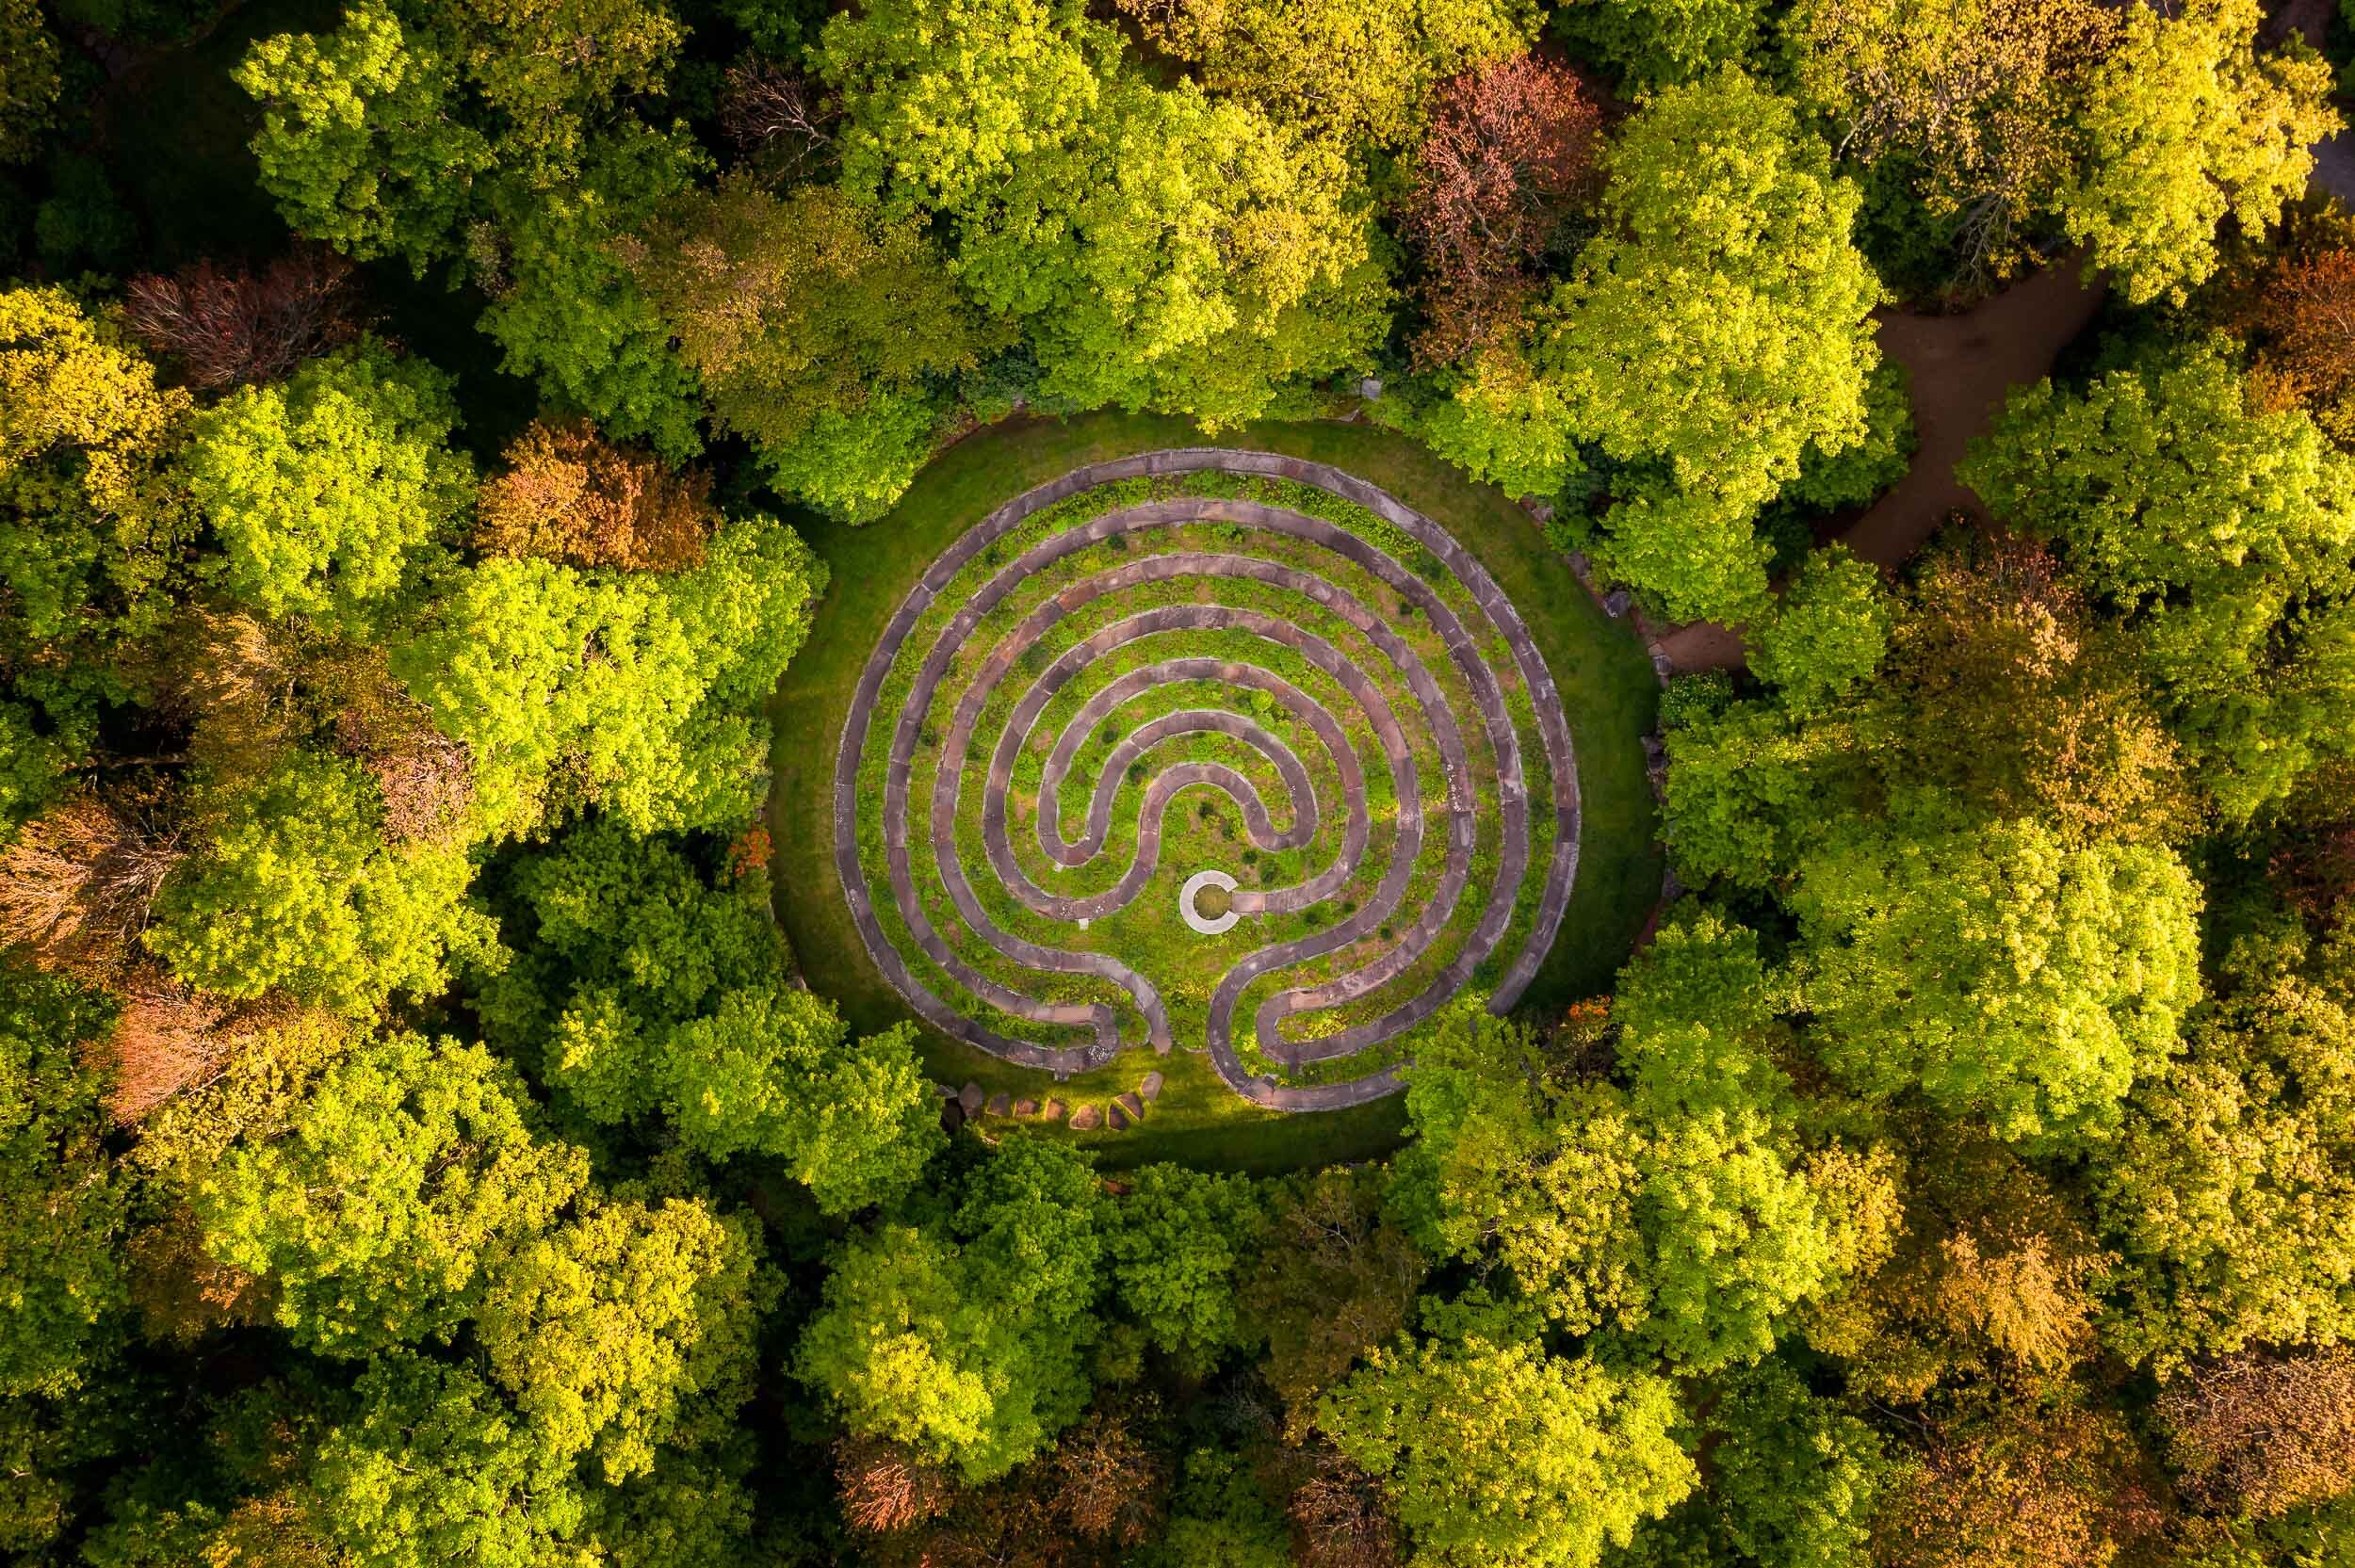
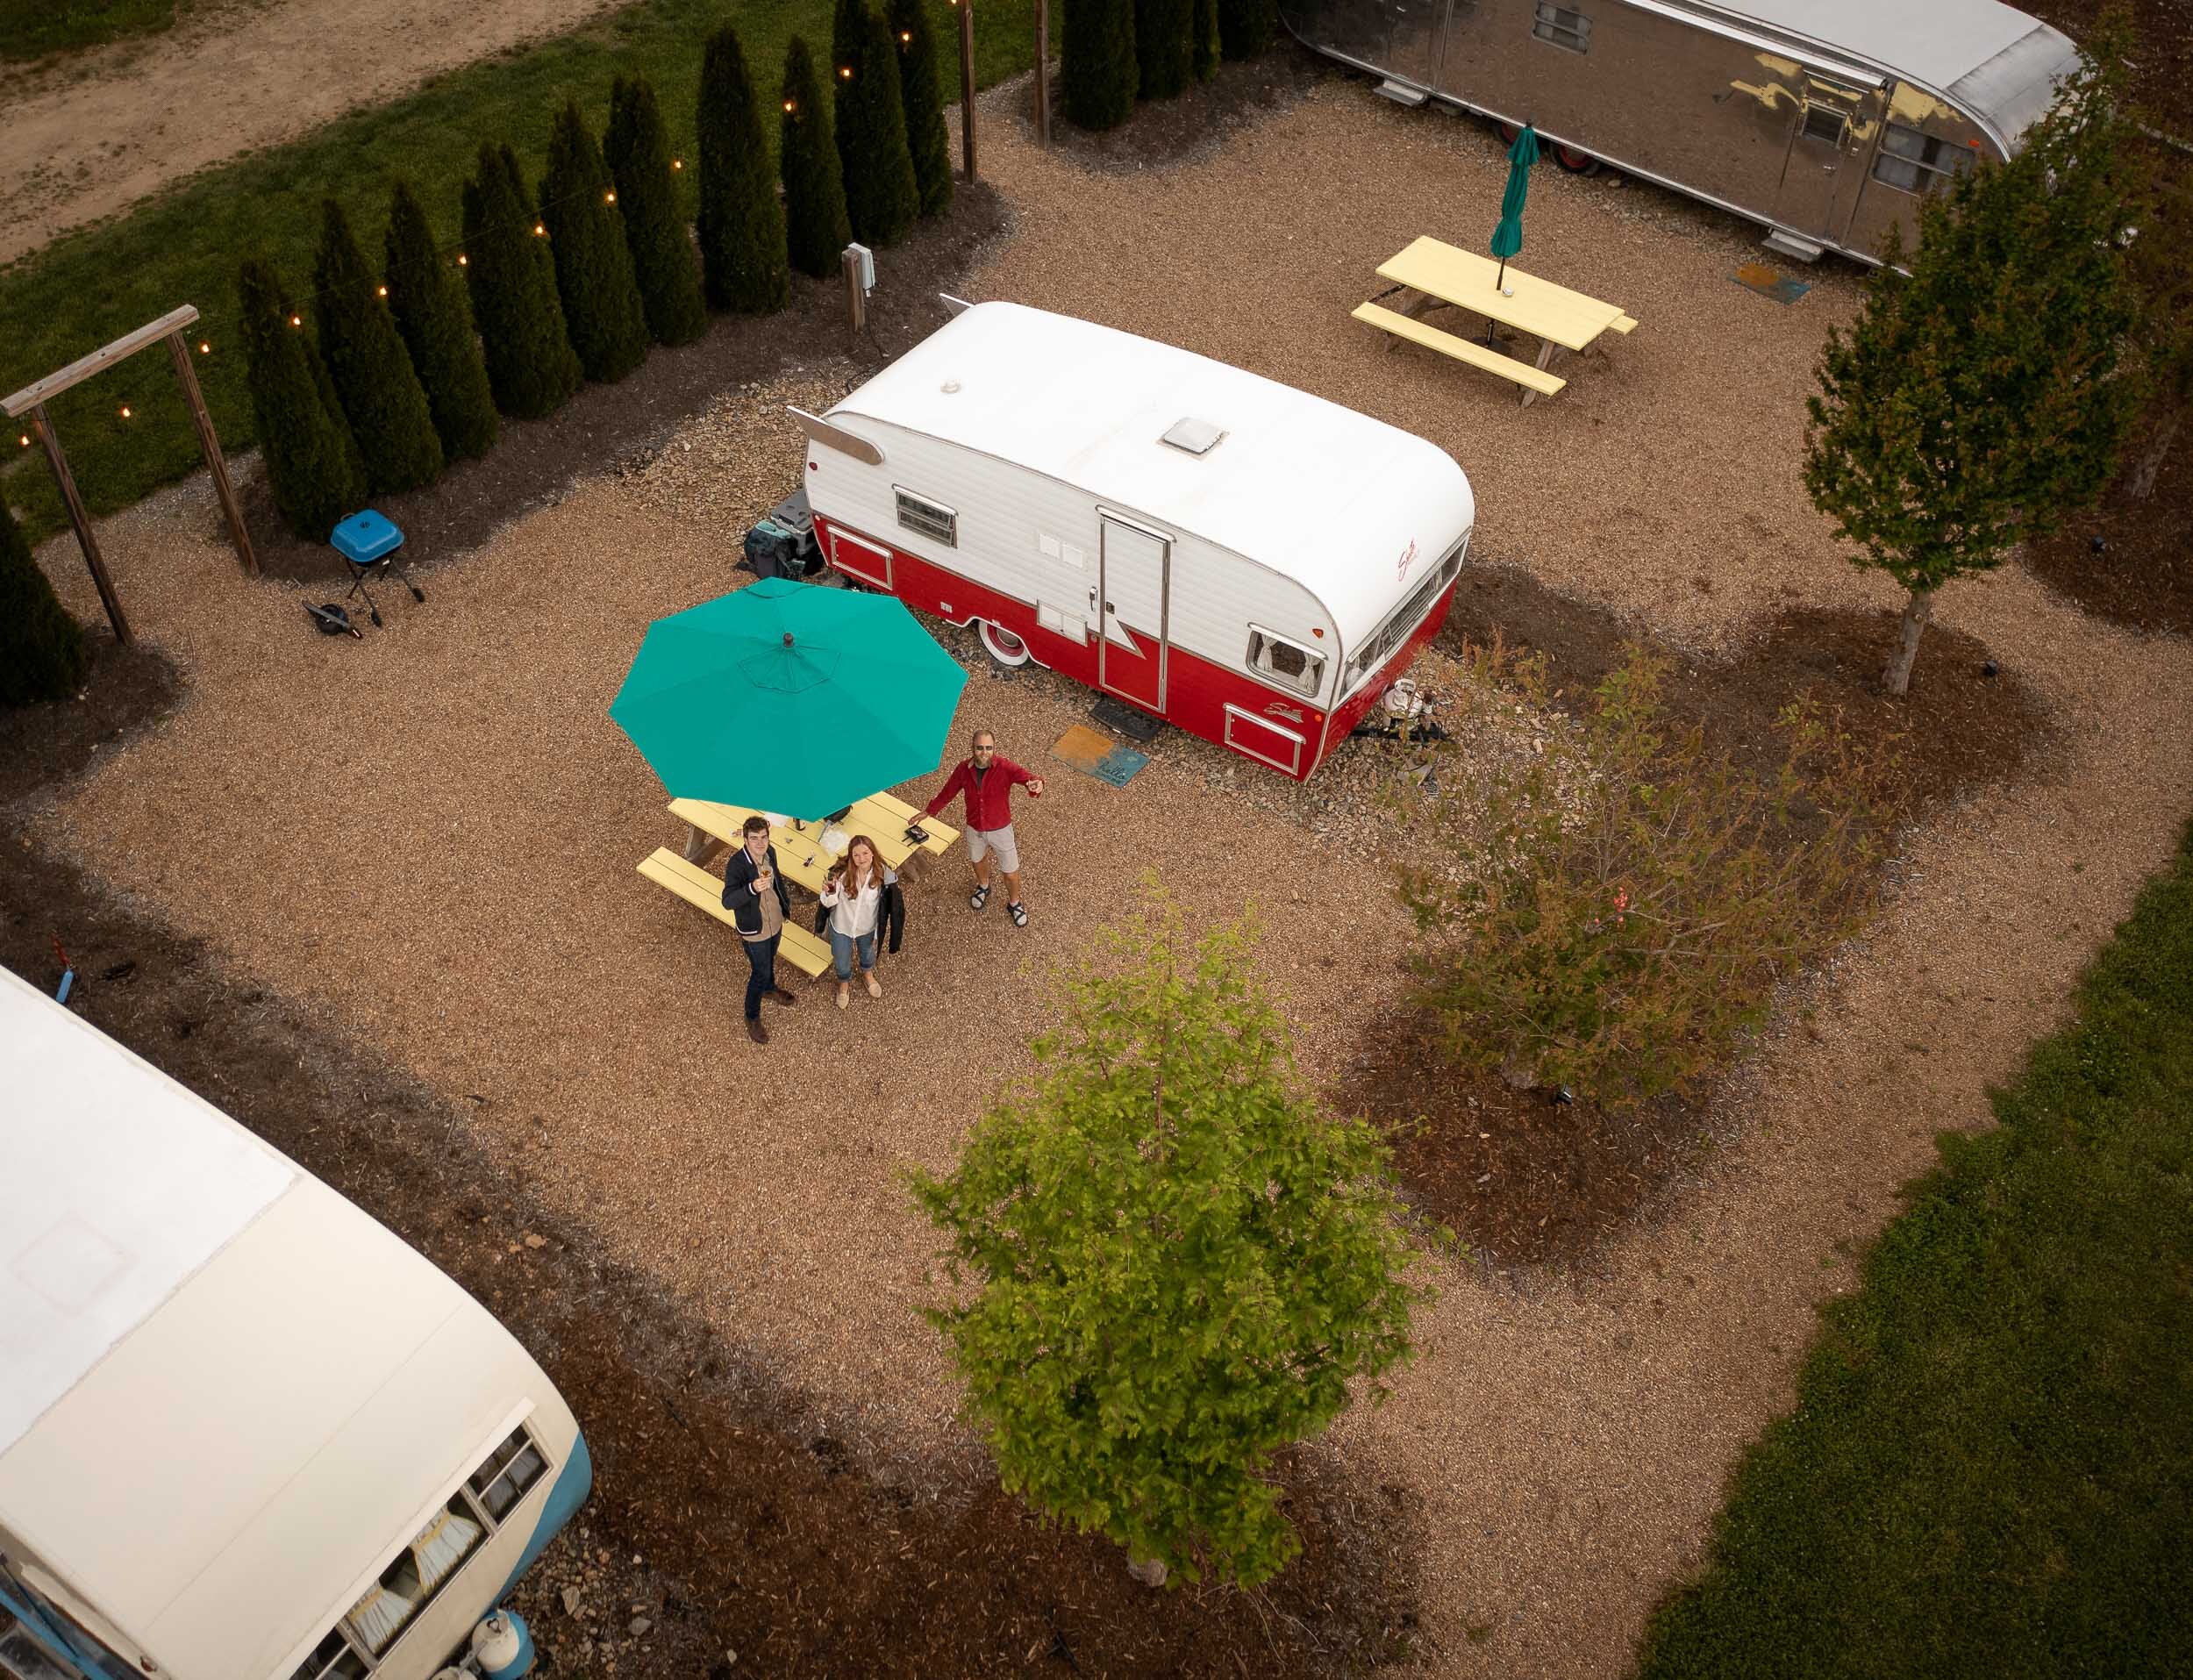
A drone is an amazing tool for photography editorial assignments. It provides an easy “establishing” shot of your main subject. Like how the opening scenes of a movie that often starts with a big wide aerial shot of the city or environment where the story takes place in. It also lets you get perspectives that are otherwise impossible or unsafe to reach. However flying a drone is a federally regulated activity and requires a lot of pre-work to be done before you can start taking commercial drone photos. I’ll quickly describe here the steps to get ready to take commercial aerial photography and some tips to improve your photos.

Here is my brief outline of how I recommend those interested in drone photography to get started.
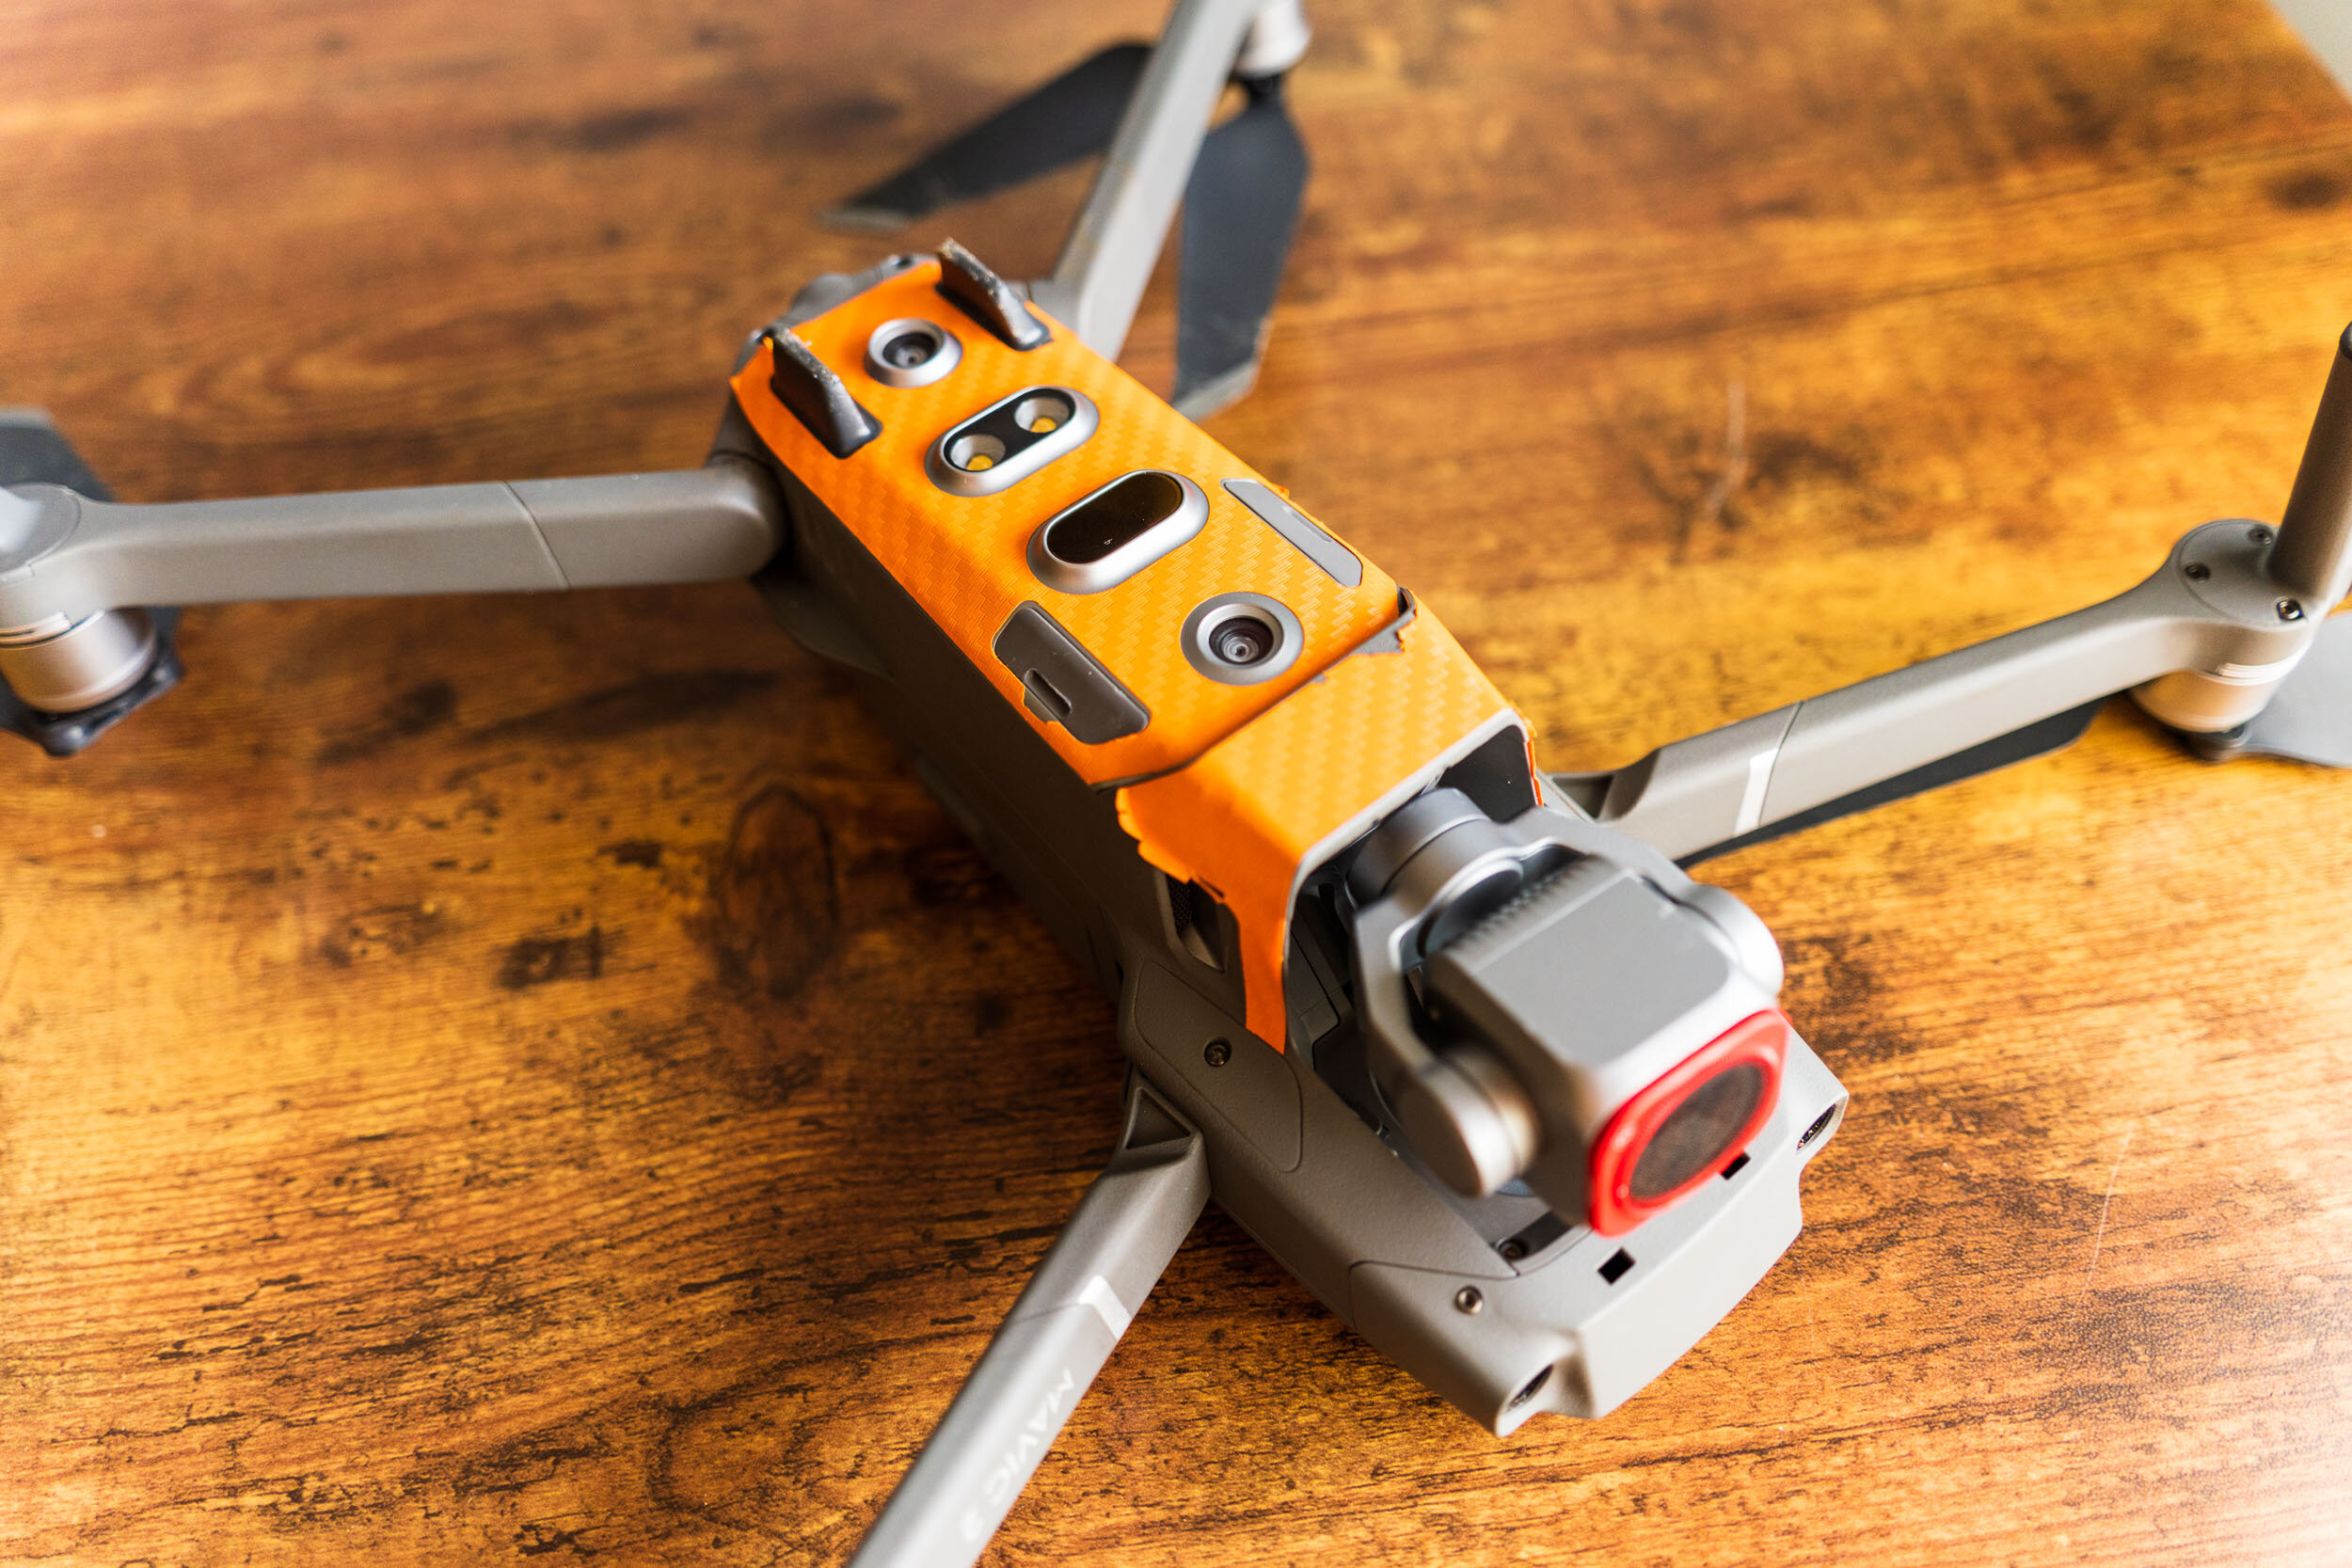
Buy a “starter” drone. Don’t buy the best drone for you right away. You need to learn how to fly in control and develop confidence that each flight isn’t going to end in disaster (which is usually learned by experiencing a few scary moments and learning how to avoid them in the future). This is Risk Management which is part of the FAA training for pilots.
Register your drone with the FAA. Unless your drone weighs less than 0.55 lbs and you are only using it for recreation. It’s $5 and you must write the registration number on the outside of the drone.
Get your Part 107 Remote Pilot certification. This is very important as it is the best way to learn where it is legal for you to fly! Also it is required to use your drone for commercial purposes. Preparing for the exam is a lot of work, expect to spend a week going through the regulations, watching YouTube videos, and taking many practice exams. I don’t recommend buying a course as there is plenty of free information available to help you study online.
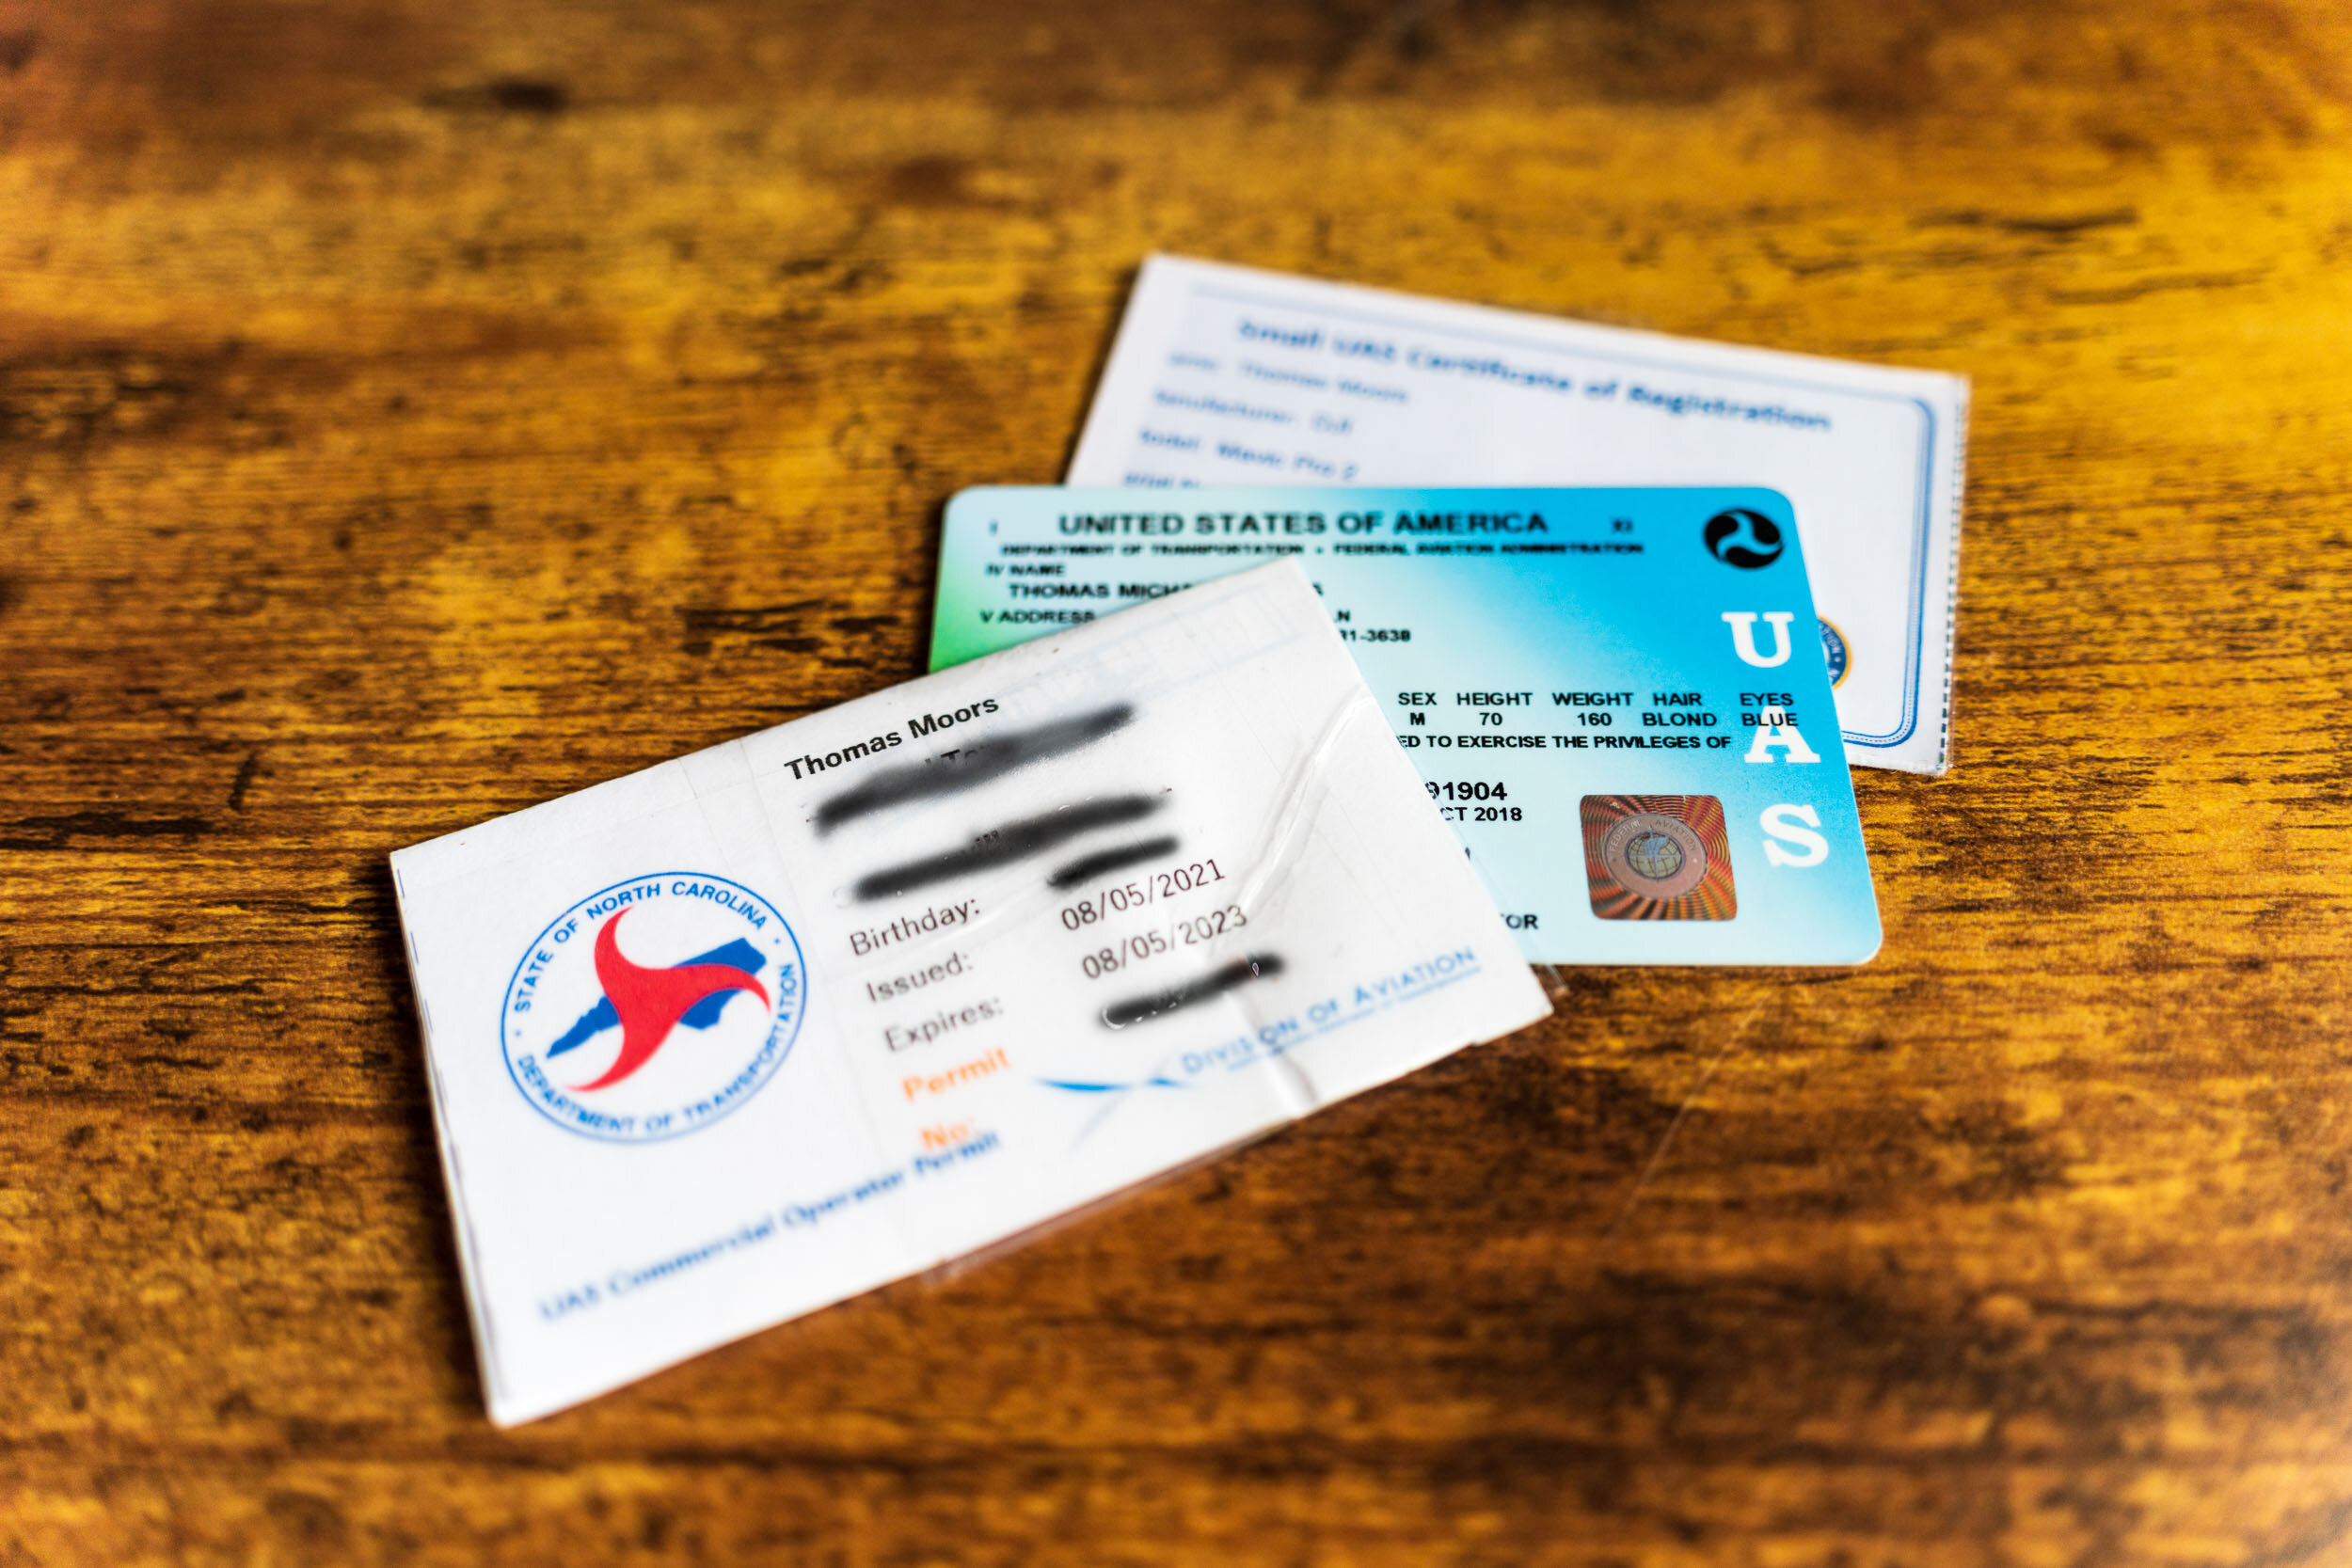
Check for any other country, state, or local drone requirements. For example North Carolina requires an additional “UAS Commercial Operator Permit” and Switzerland requires a million dollar insurance policy (which is easy to obtain through a number of drone insurance apps).
If you have followed these steps you should know how and where you can fly. This is critical as you can be heavily fined for violating the regulations.

Now that you are flying here are some tips for using your drone for photography.
Carry your FAA registration, Part 107 certificate, and any other required permits with you at all times.
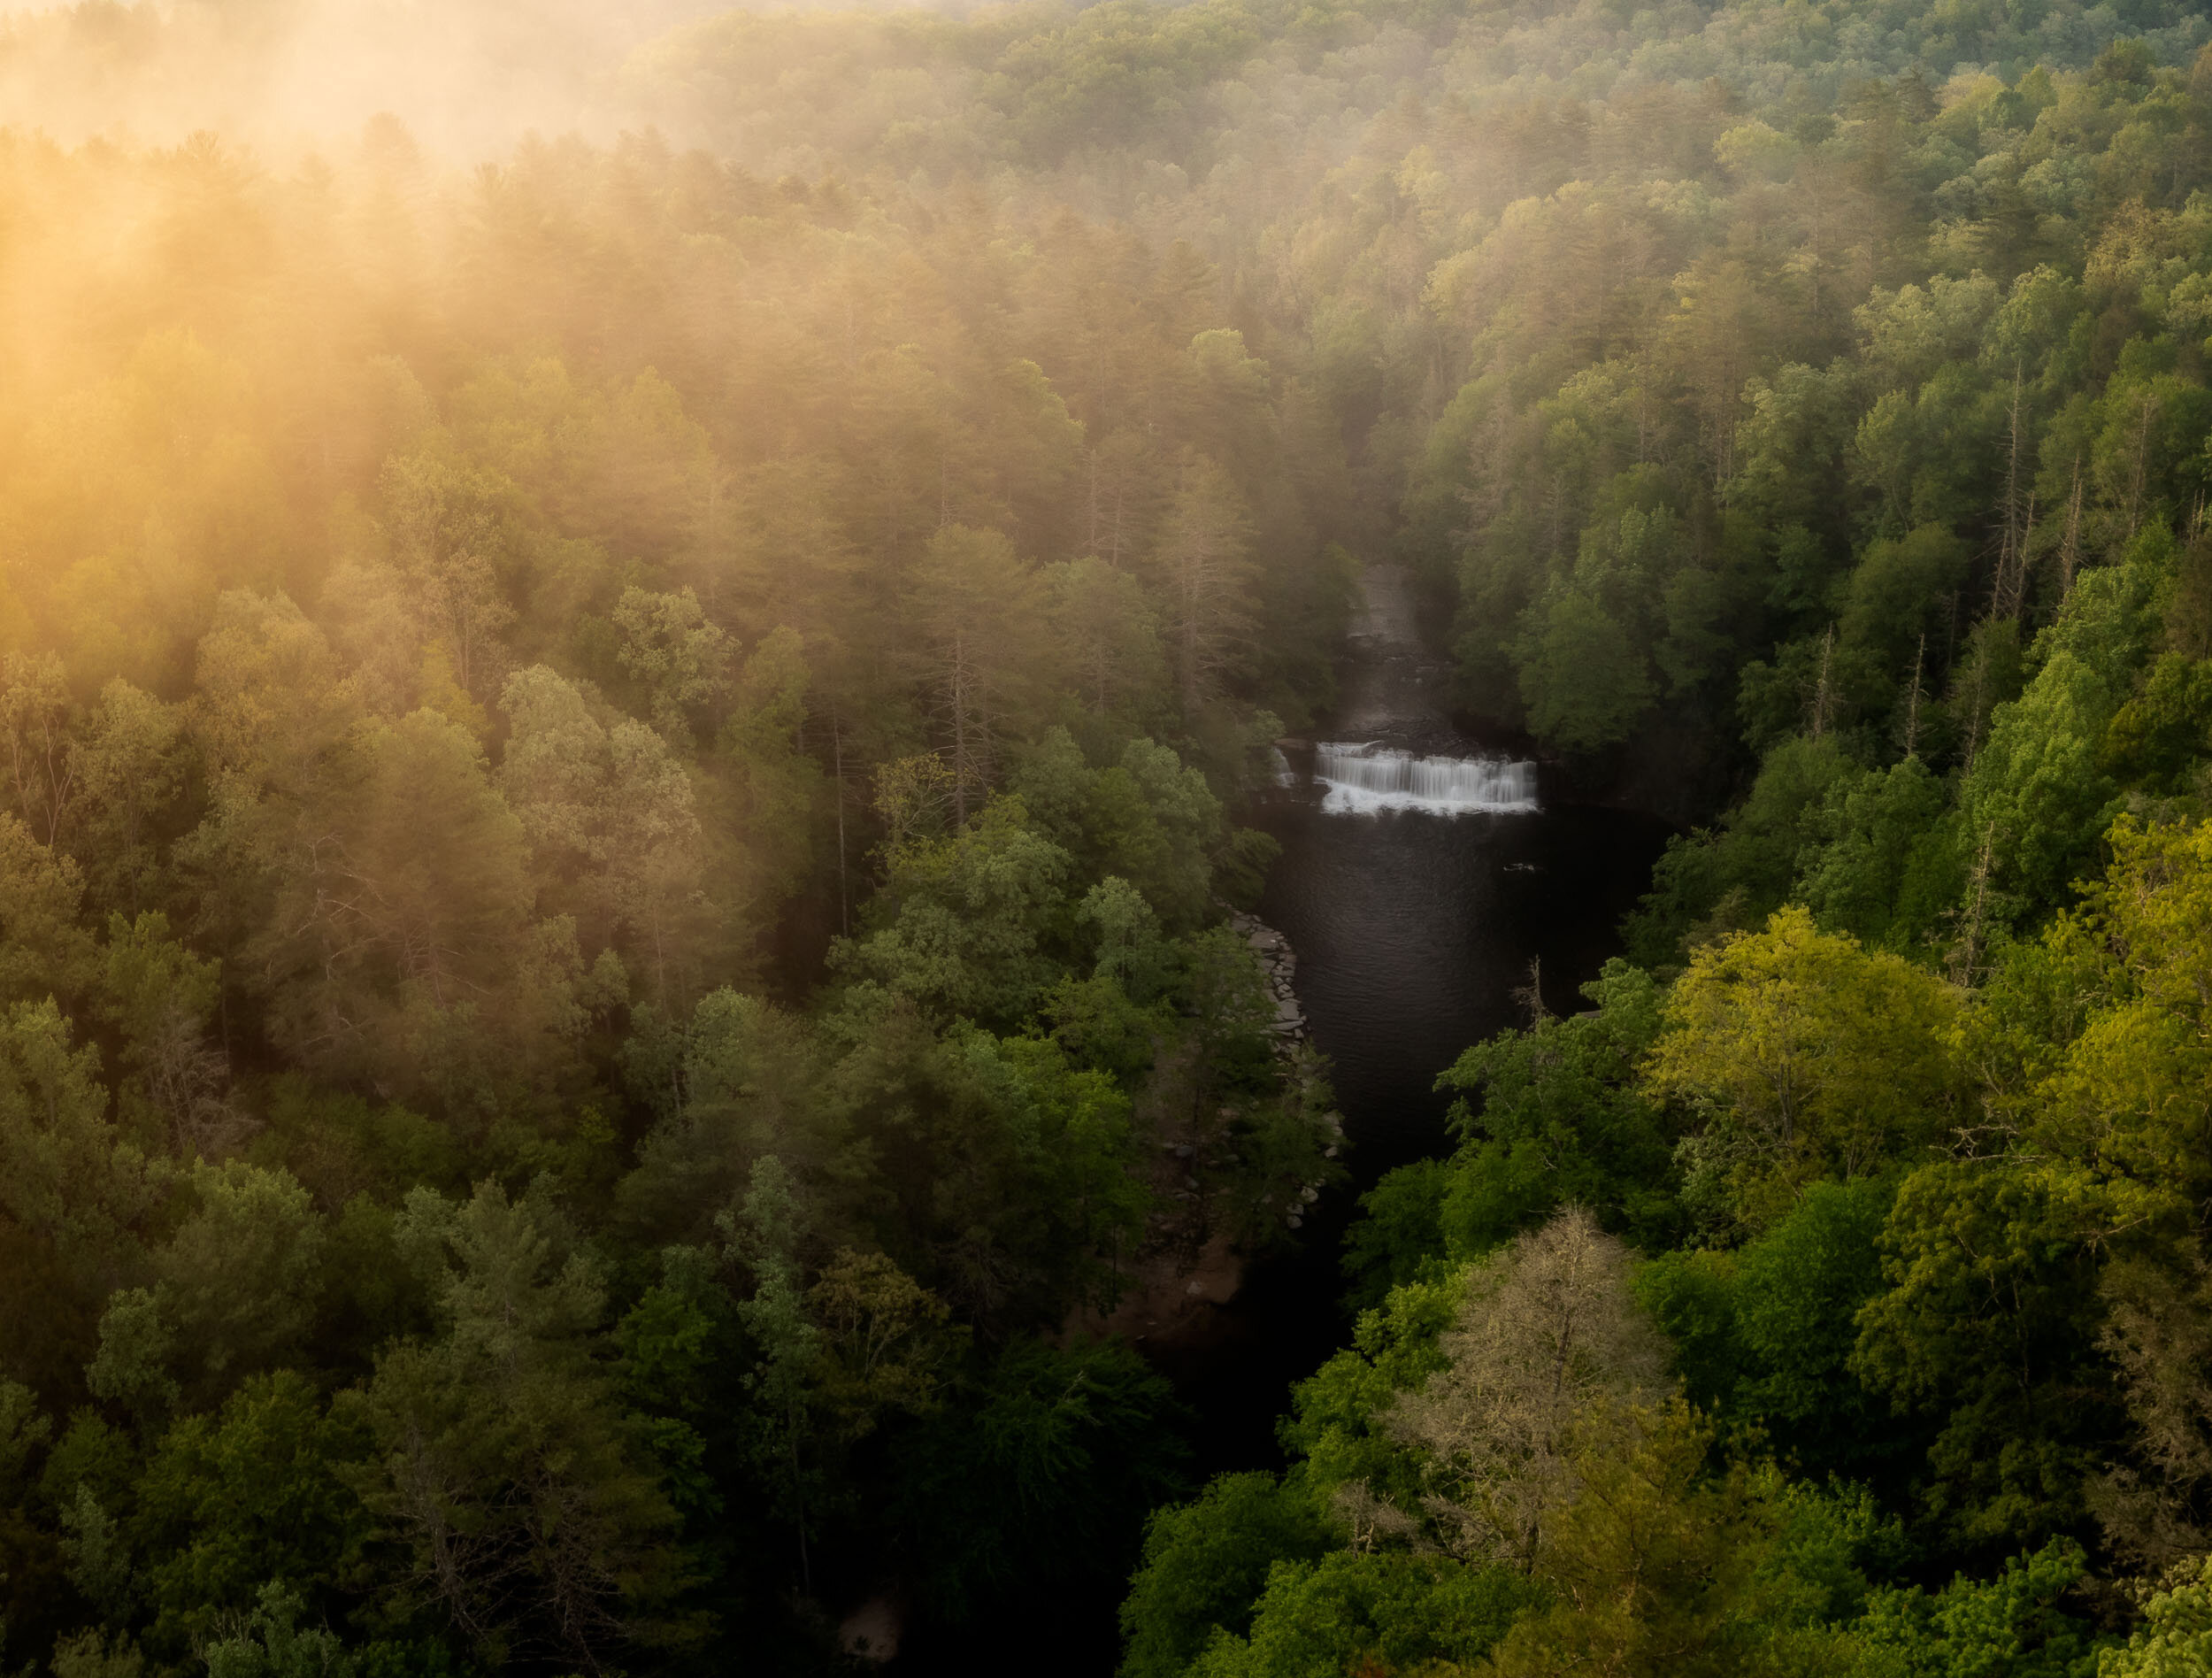
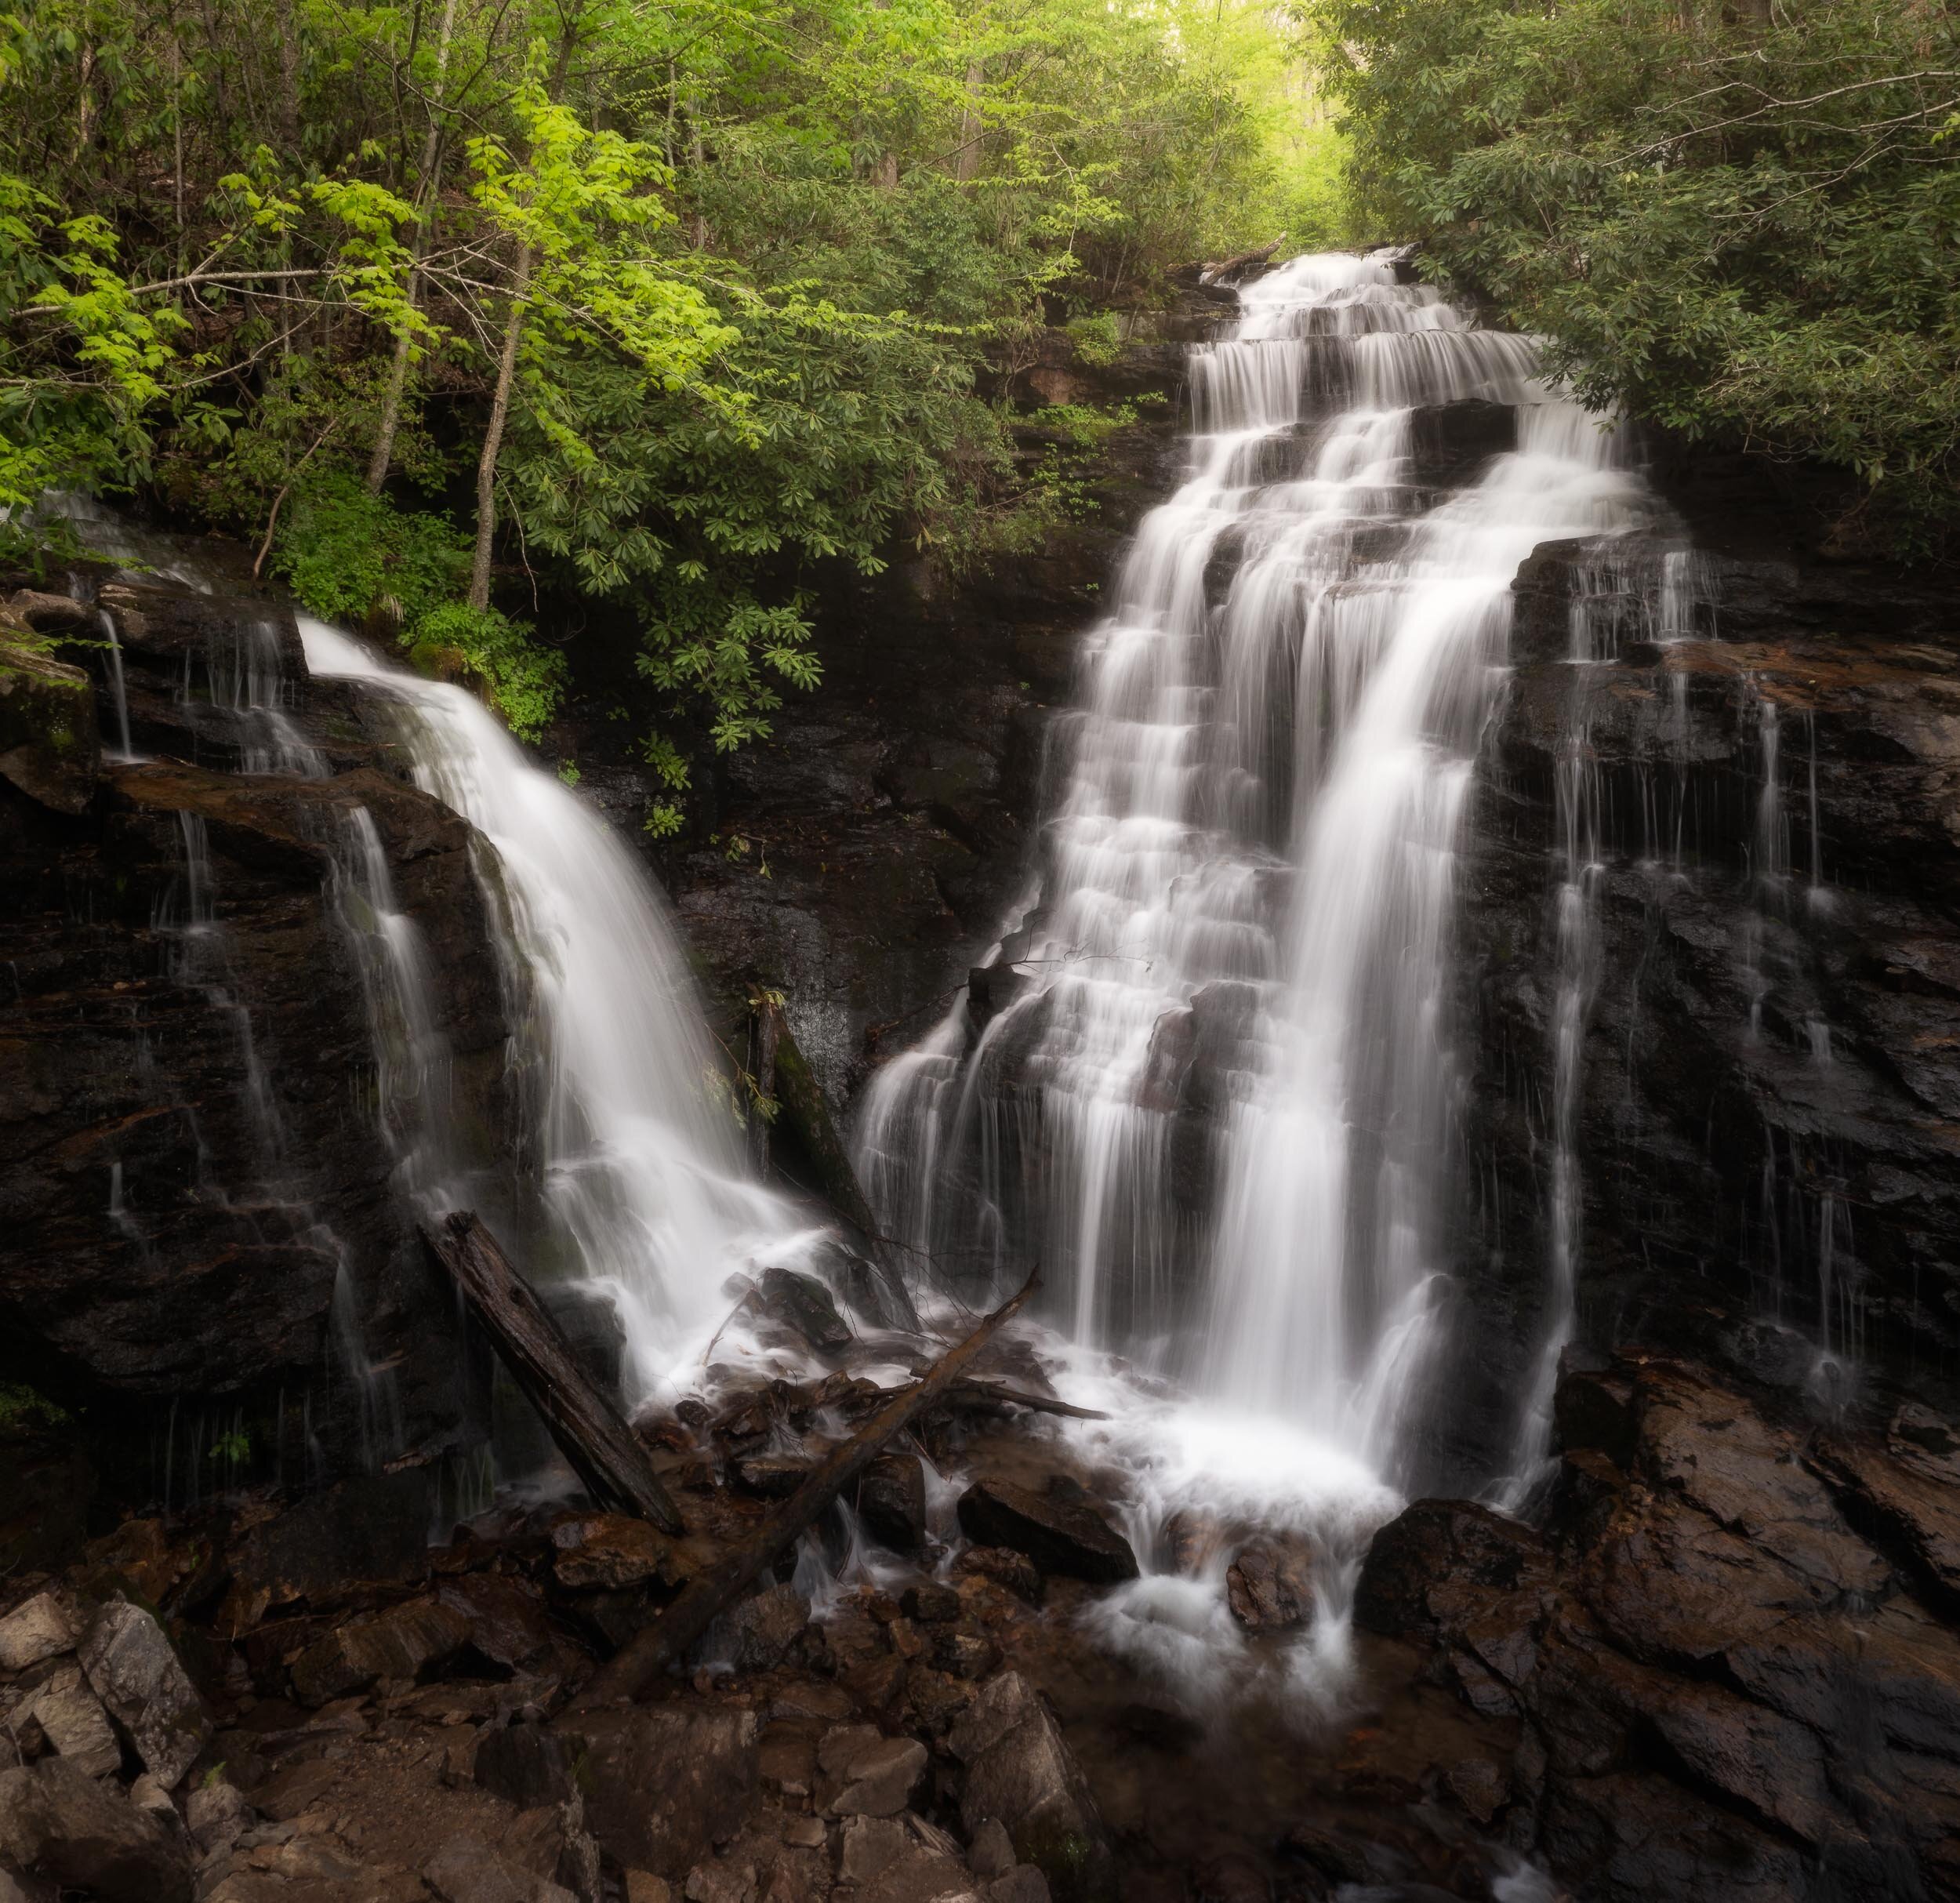
Buy a circular polarizer for your camera. It reduces reflections, saturates the colors, and provides a bit of exposure reduction for smoothing out waterfalls.
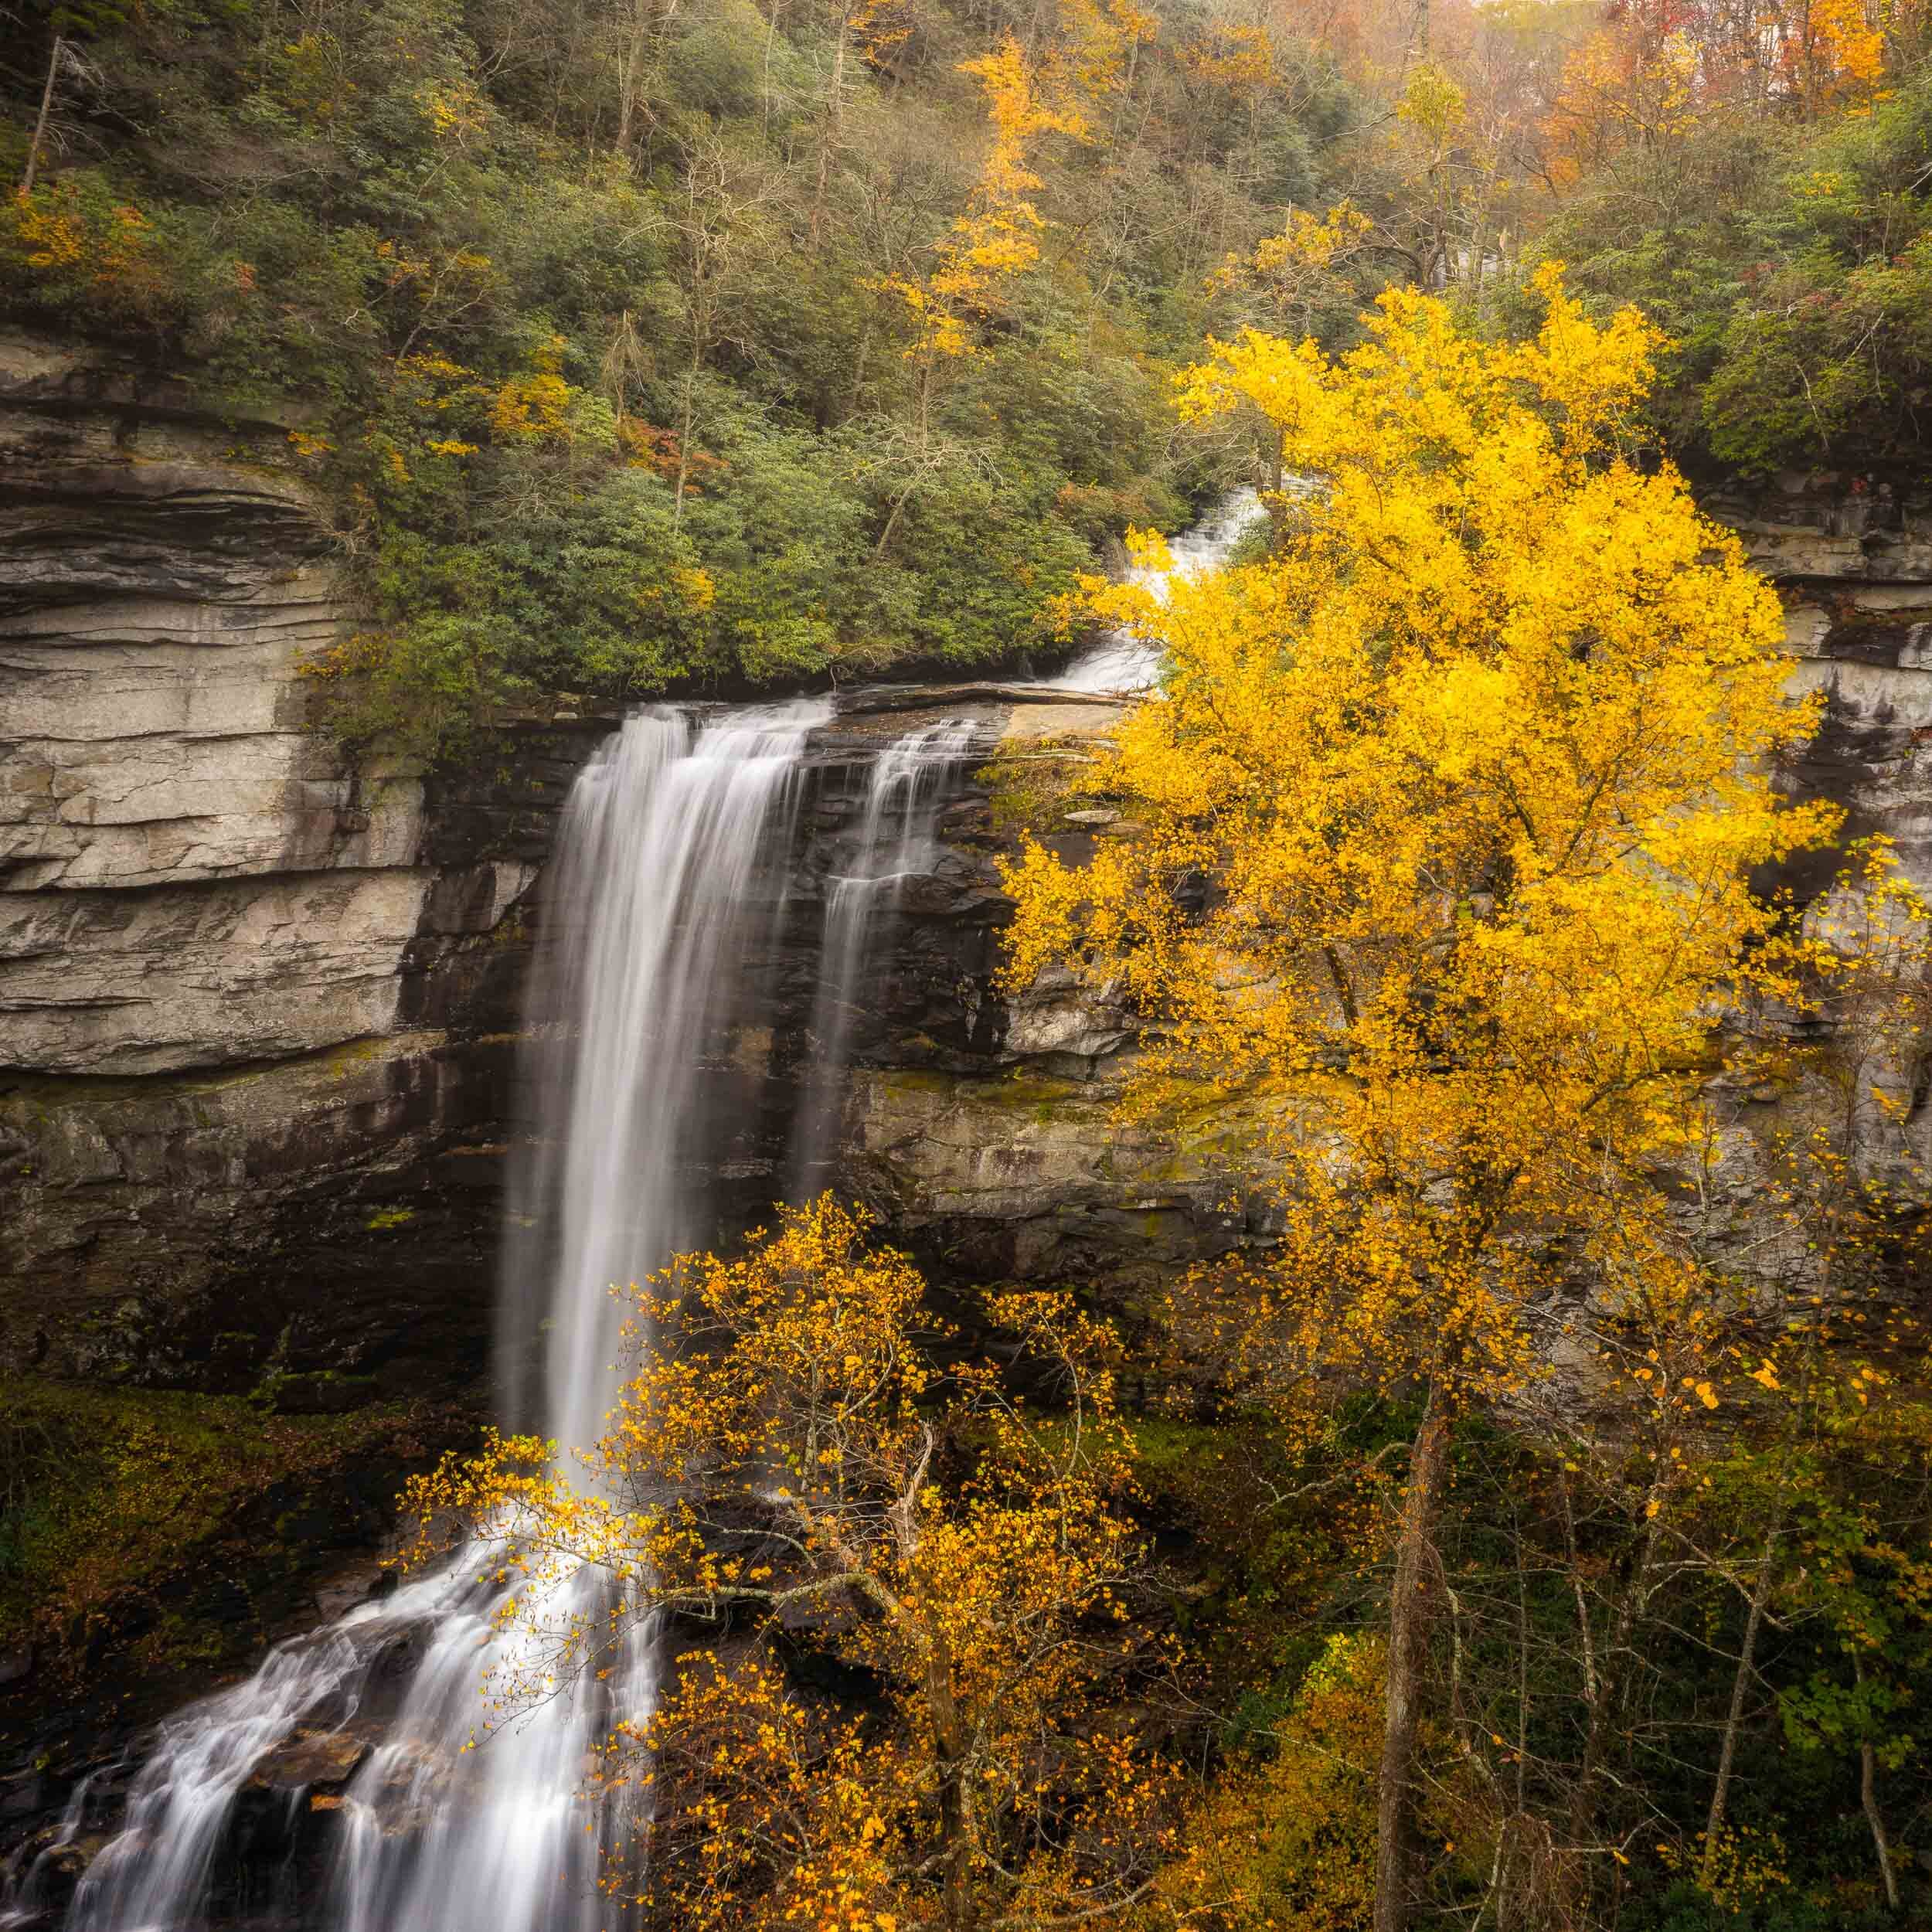
Yes you can photograph waterfalls! Use the “Tripod” mode and a shutter speed of 1/5 to 0.5 seconds are possible. The slow speed of Tripod mode is also very useful for navigating near trees.
Buy a colorful skin for you drone in case it crashes and you have to go find it…
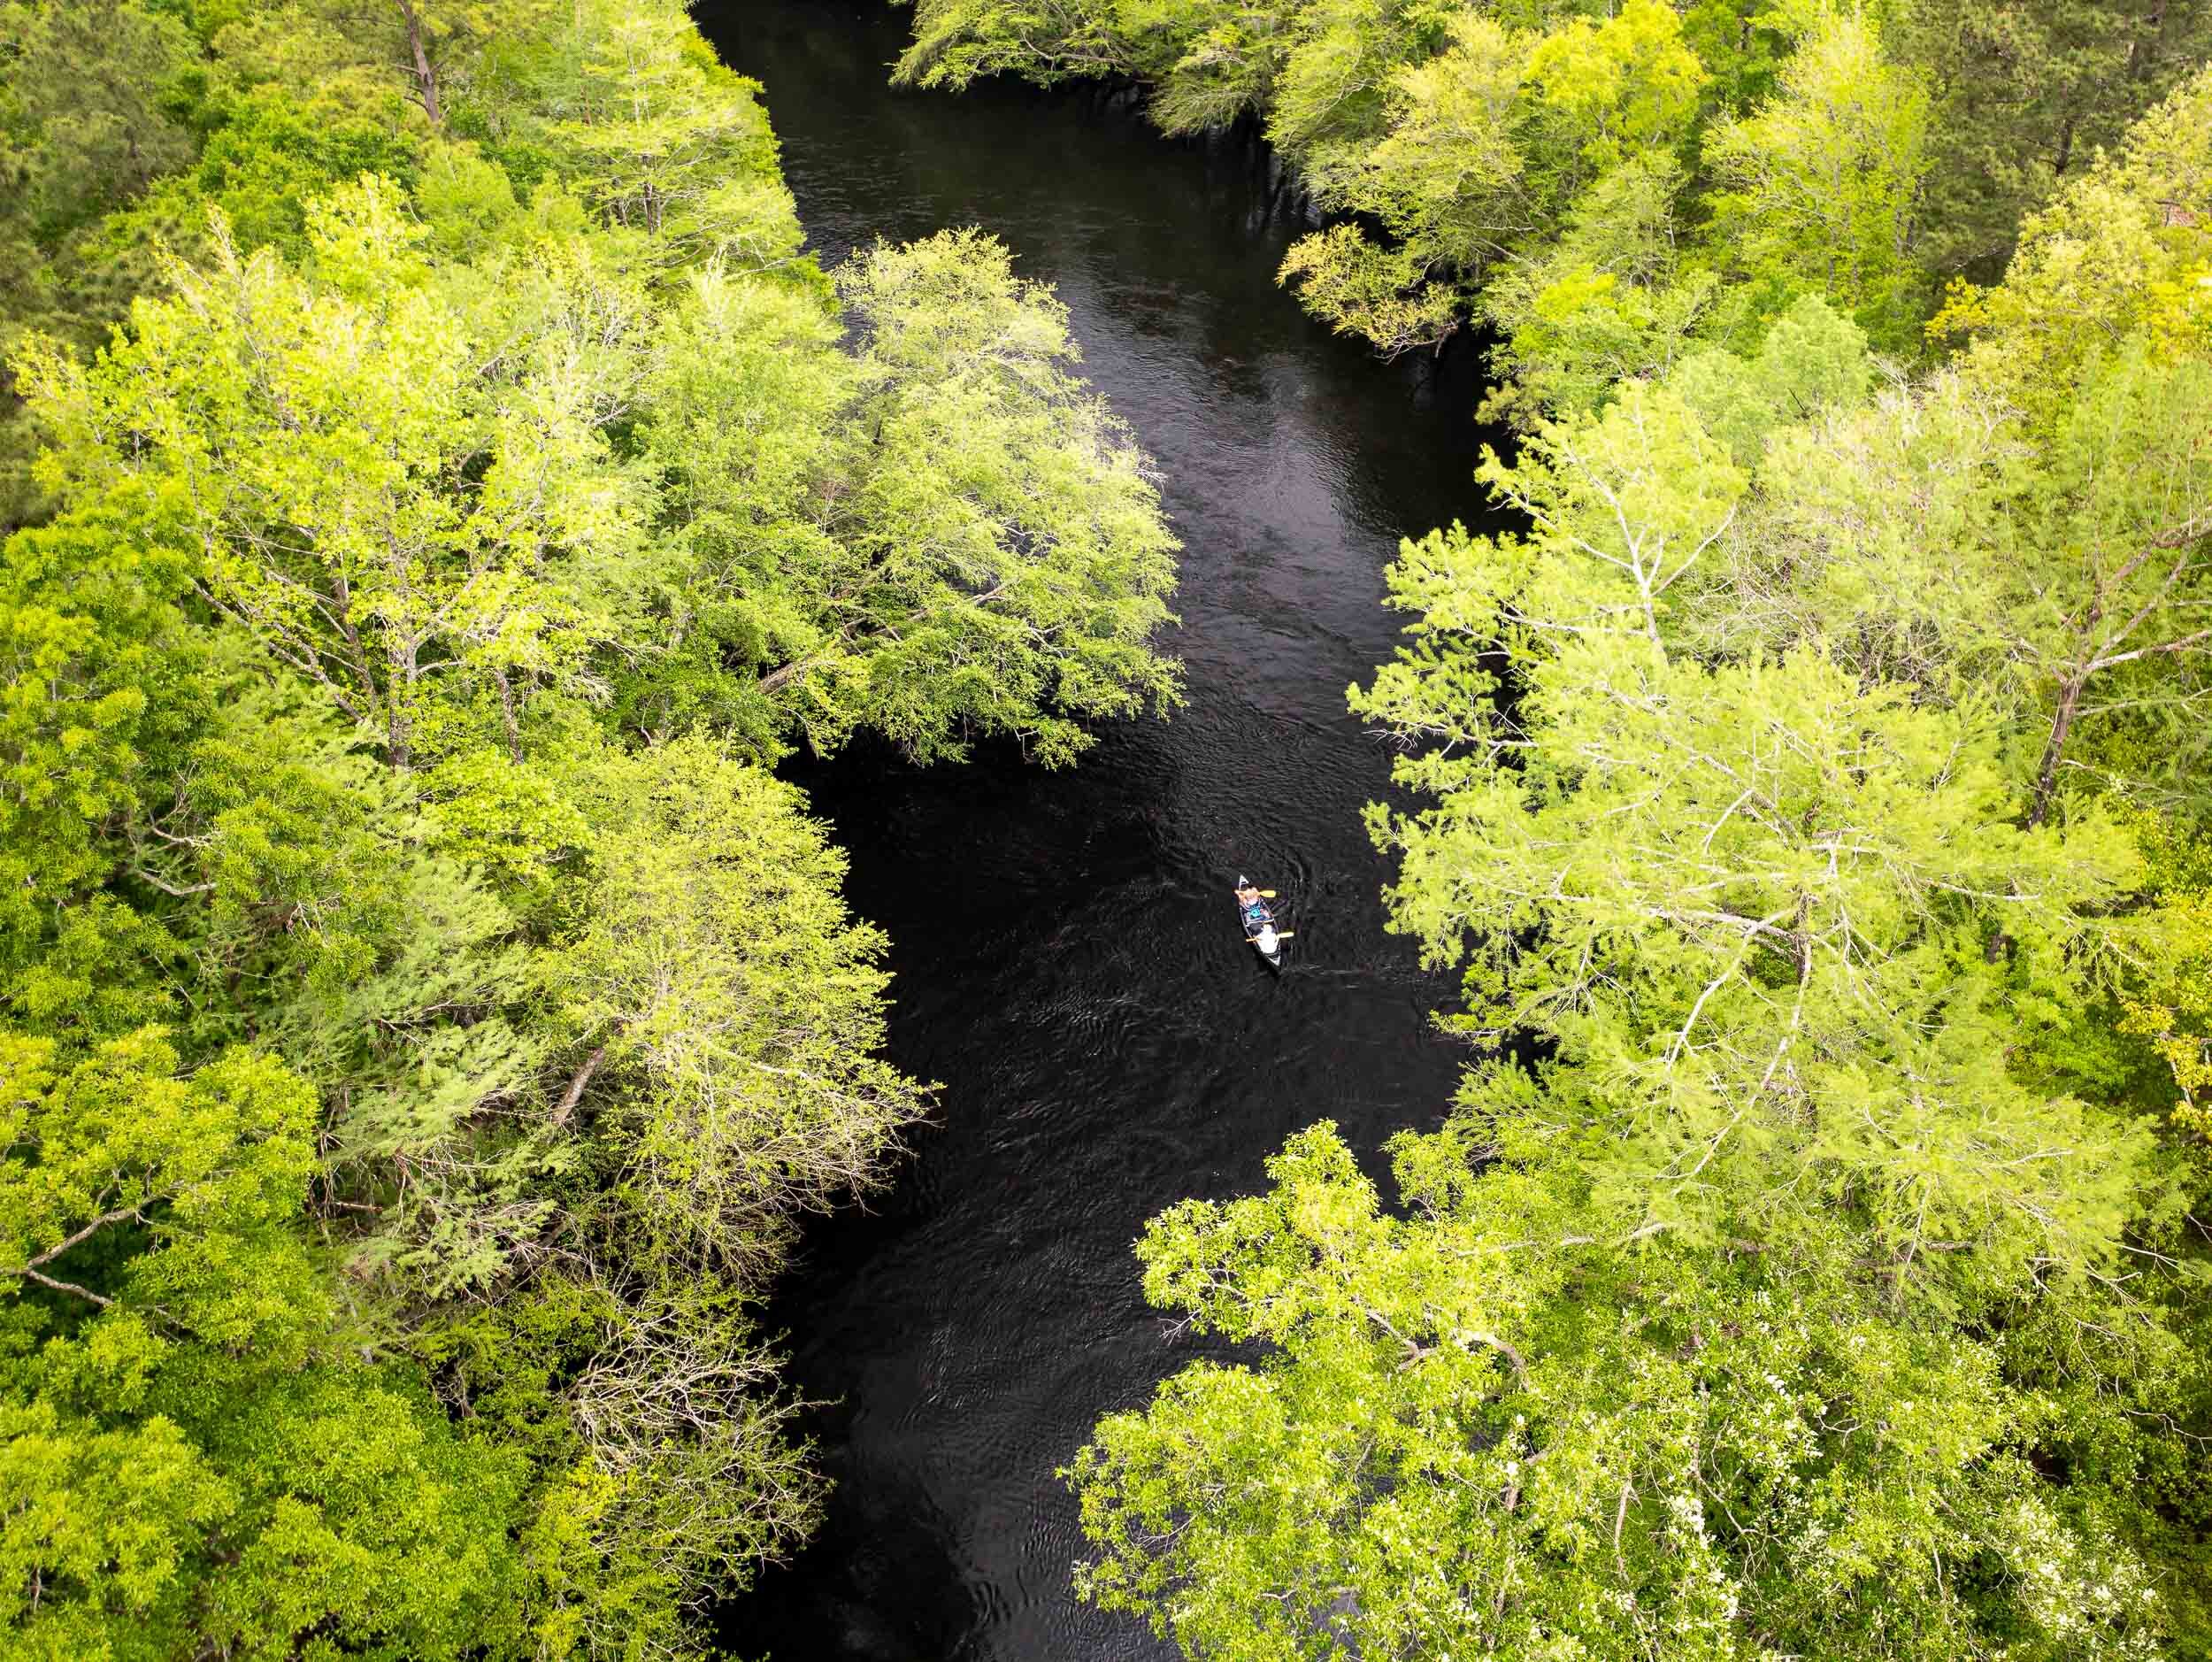
Experiment with different perspectives and angles. The early tendency is to just go high (400 feet max remember). However think of it as a taller tripod and use it to get to angles that you couldn’t reach yourself.
The sensors in drones are improving but the dynamic range and detail is not going to compete with the latest digital cameras. Therefore always exposure bracket and limit high dynamic range scenes. Also to increase the resolution consider taking panoramas, overlapping the images by at least 50%.
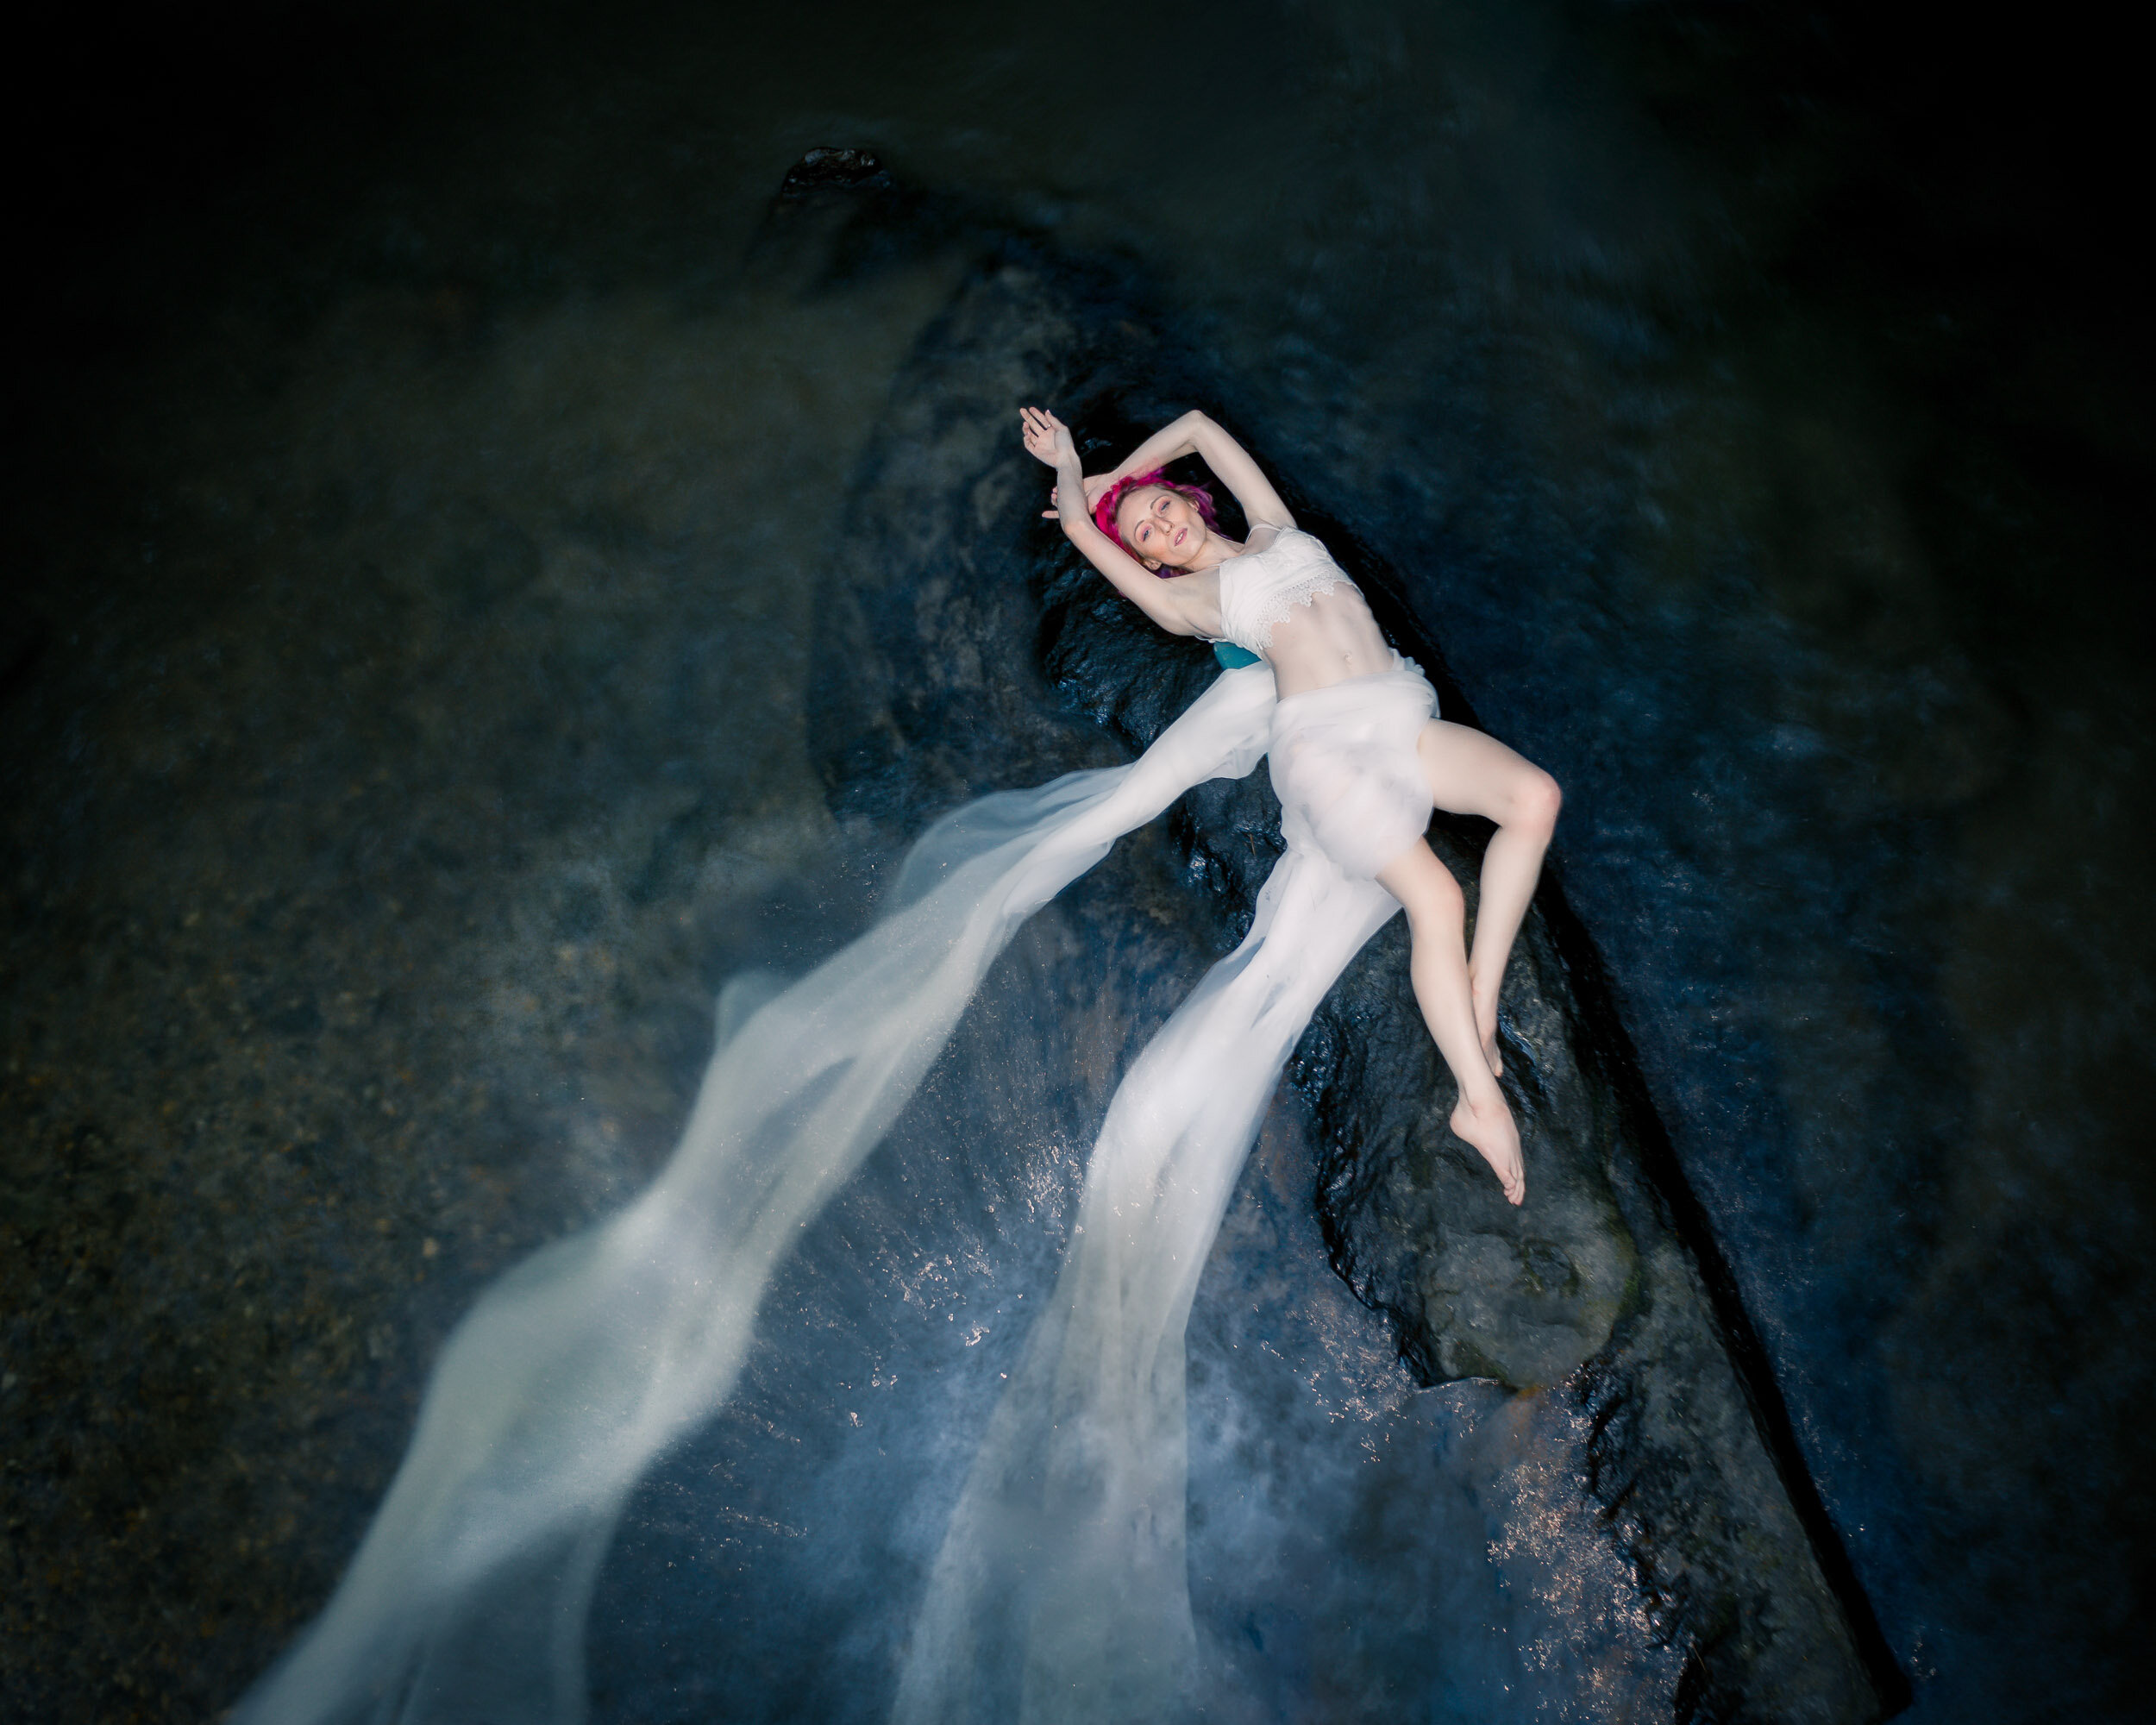
Finally be safe, respectful of others, and have fun!
If you have a need for aerial drone photography or want a one-on-one private lesson don’t hesitate to contact me for rates!