How to See the Aurora Borealis!

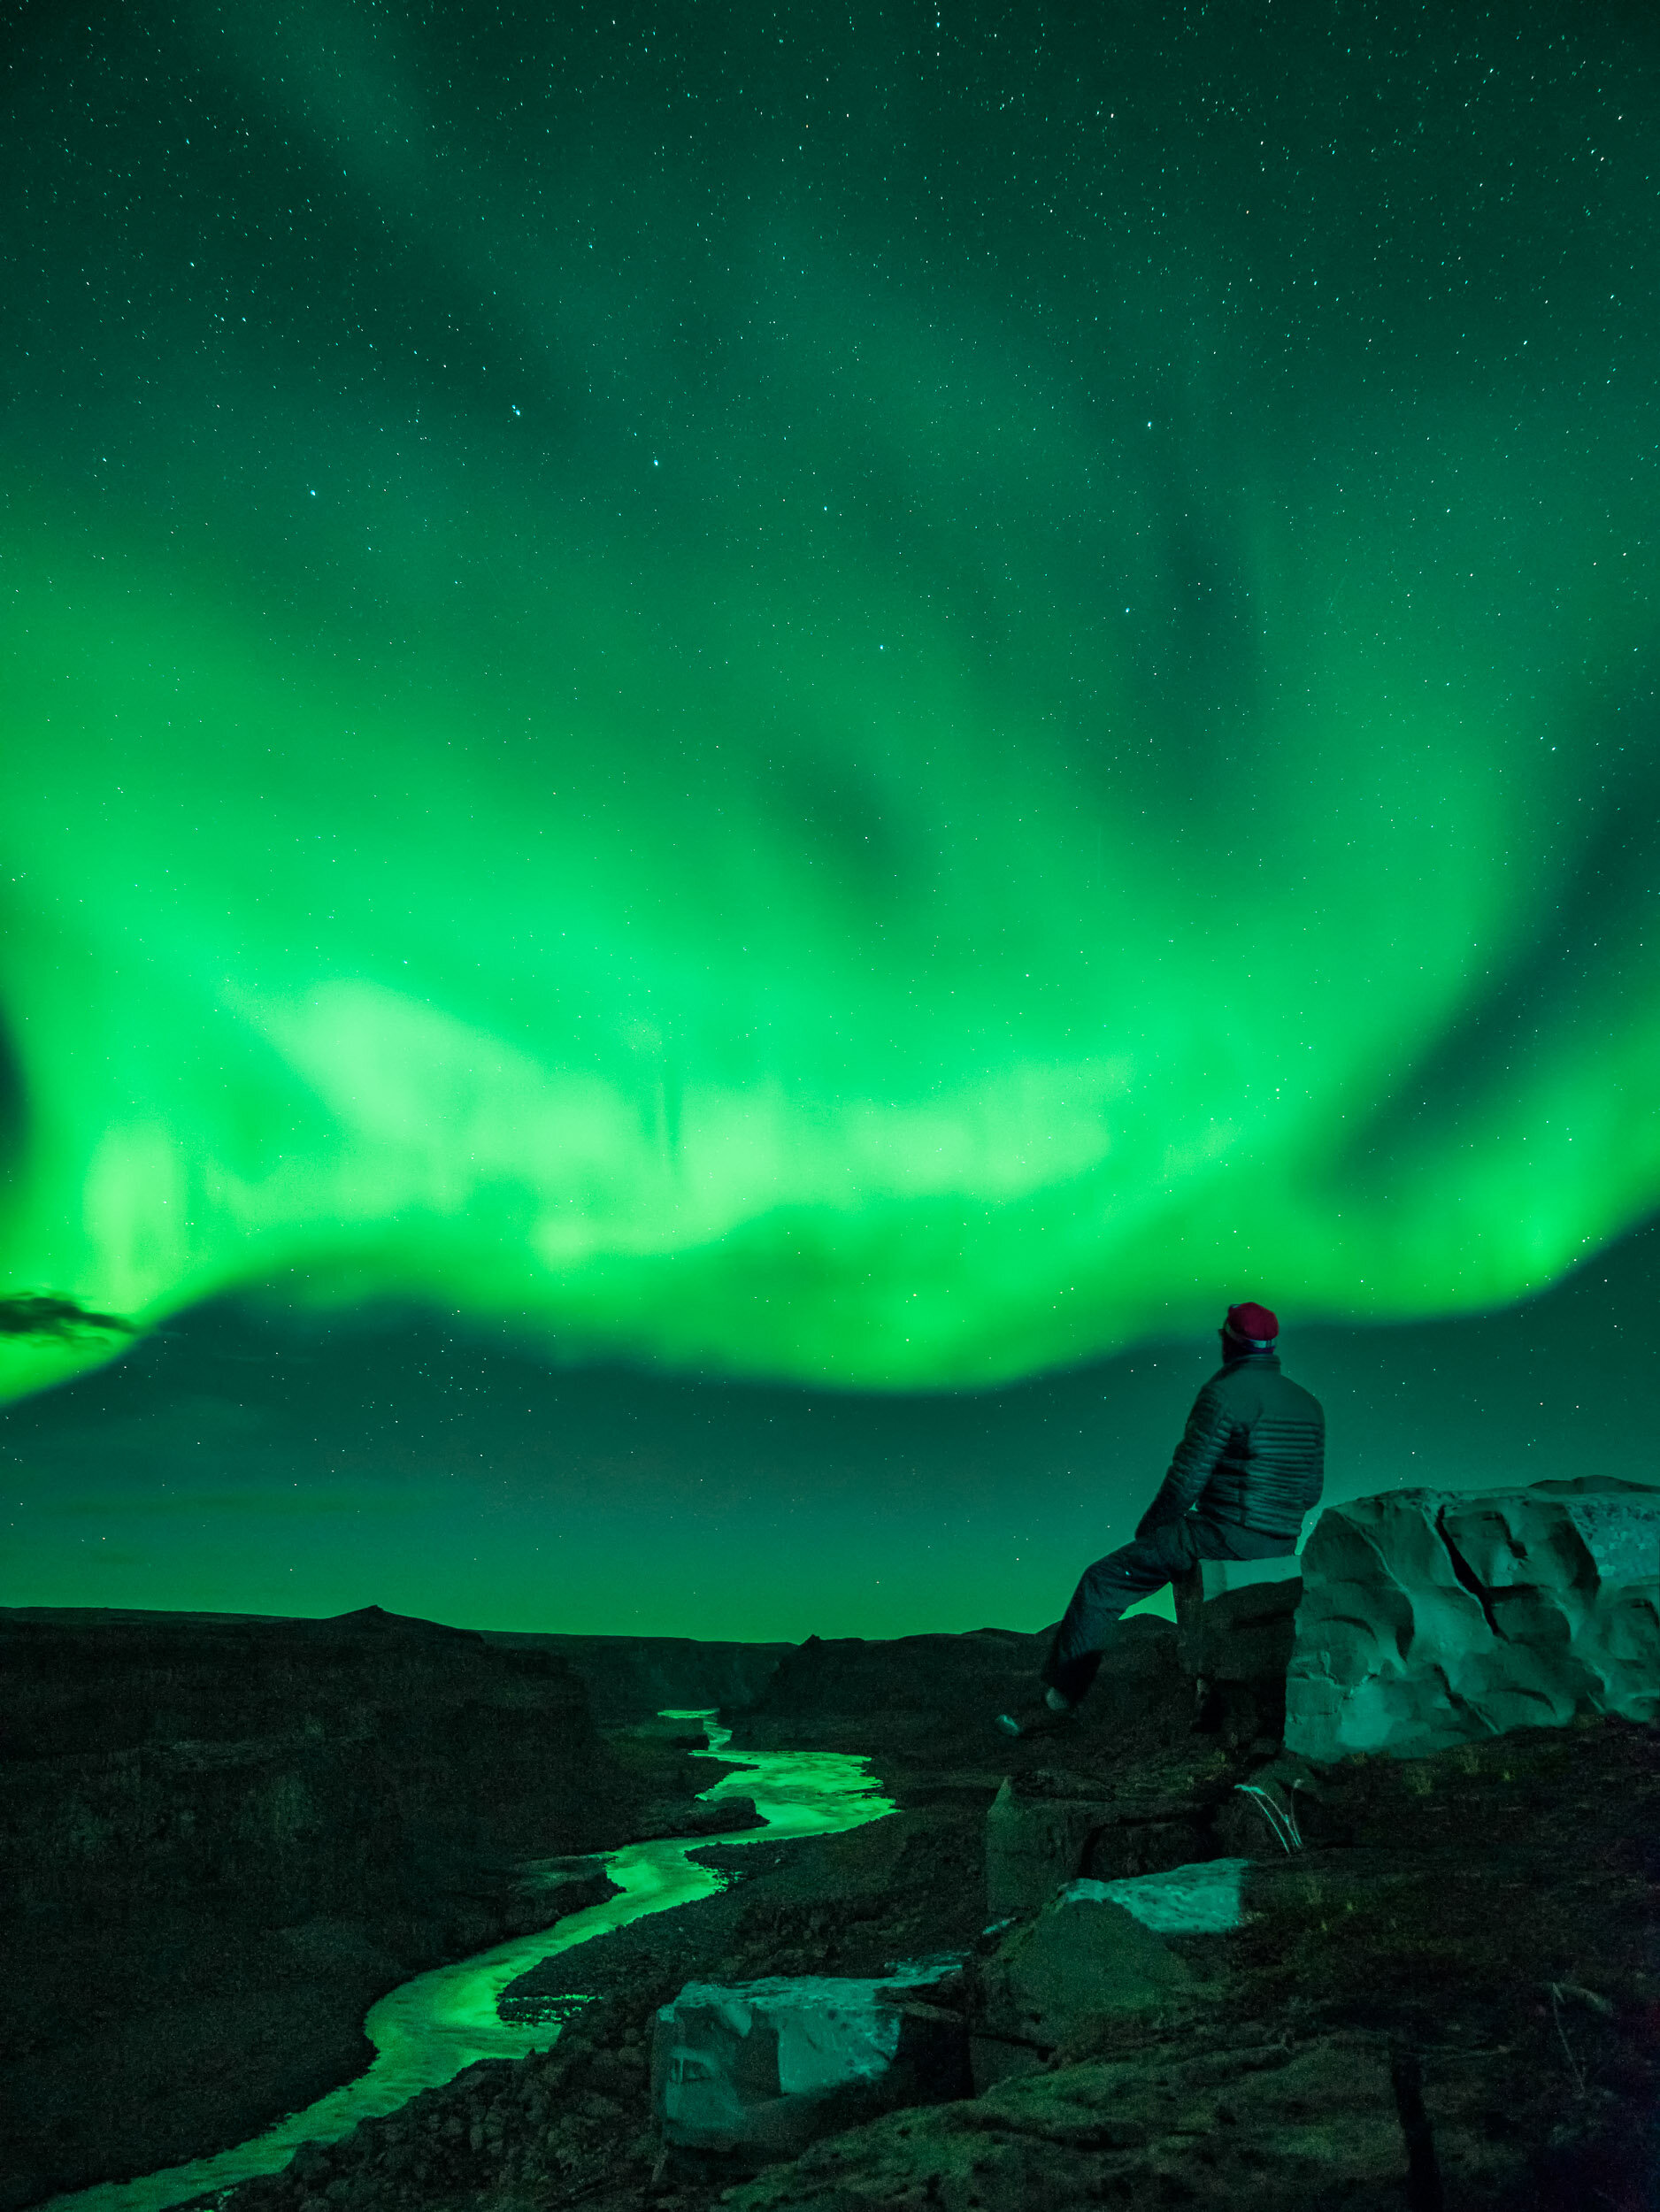
Seeing the Aurora Borealis or Northern Lights dance over your head is a bucket list experience! It’s also addicting, once you have seen it you will want to see it again, and again! So how do you see it?

The Aurora Borealis is visible above the Arctic Circle. Therefore unless you are extremely lucky to catch a very strong display, you need to be in Alaska, Canada, Iceland, Norway, Sweden, Finland, or Russia. Because these locations are so far north you need to visit between October and March to avoid the “midnight sun” when the sun does not fully set and the sky will be too bright to see the Northern Lights. Finally you will need to be away from large cities which create light pollution and visiting on nights when there will be less than 1/2 of a crescent moon to ensure a dark sky for the Aurora to pop!

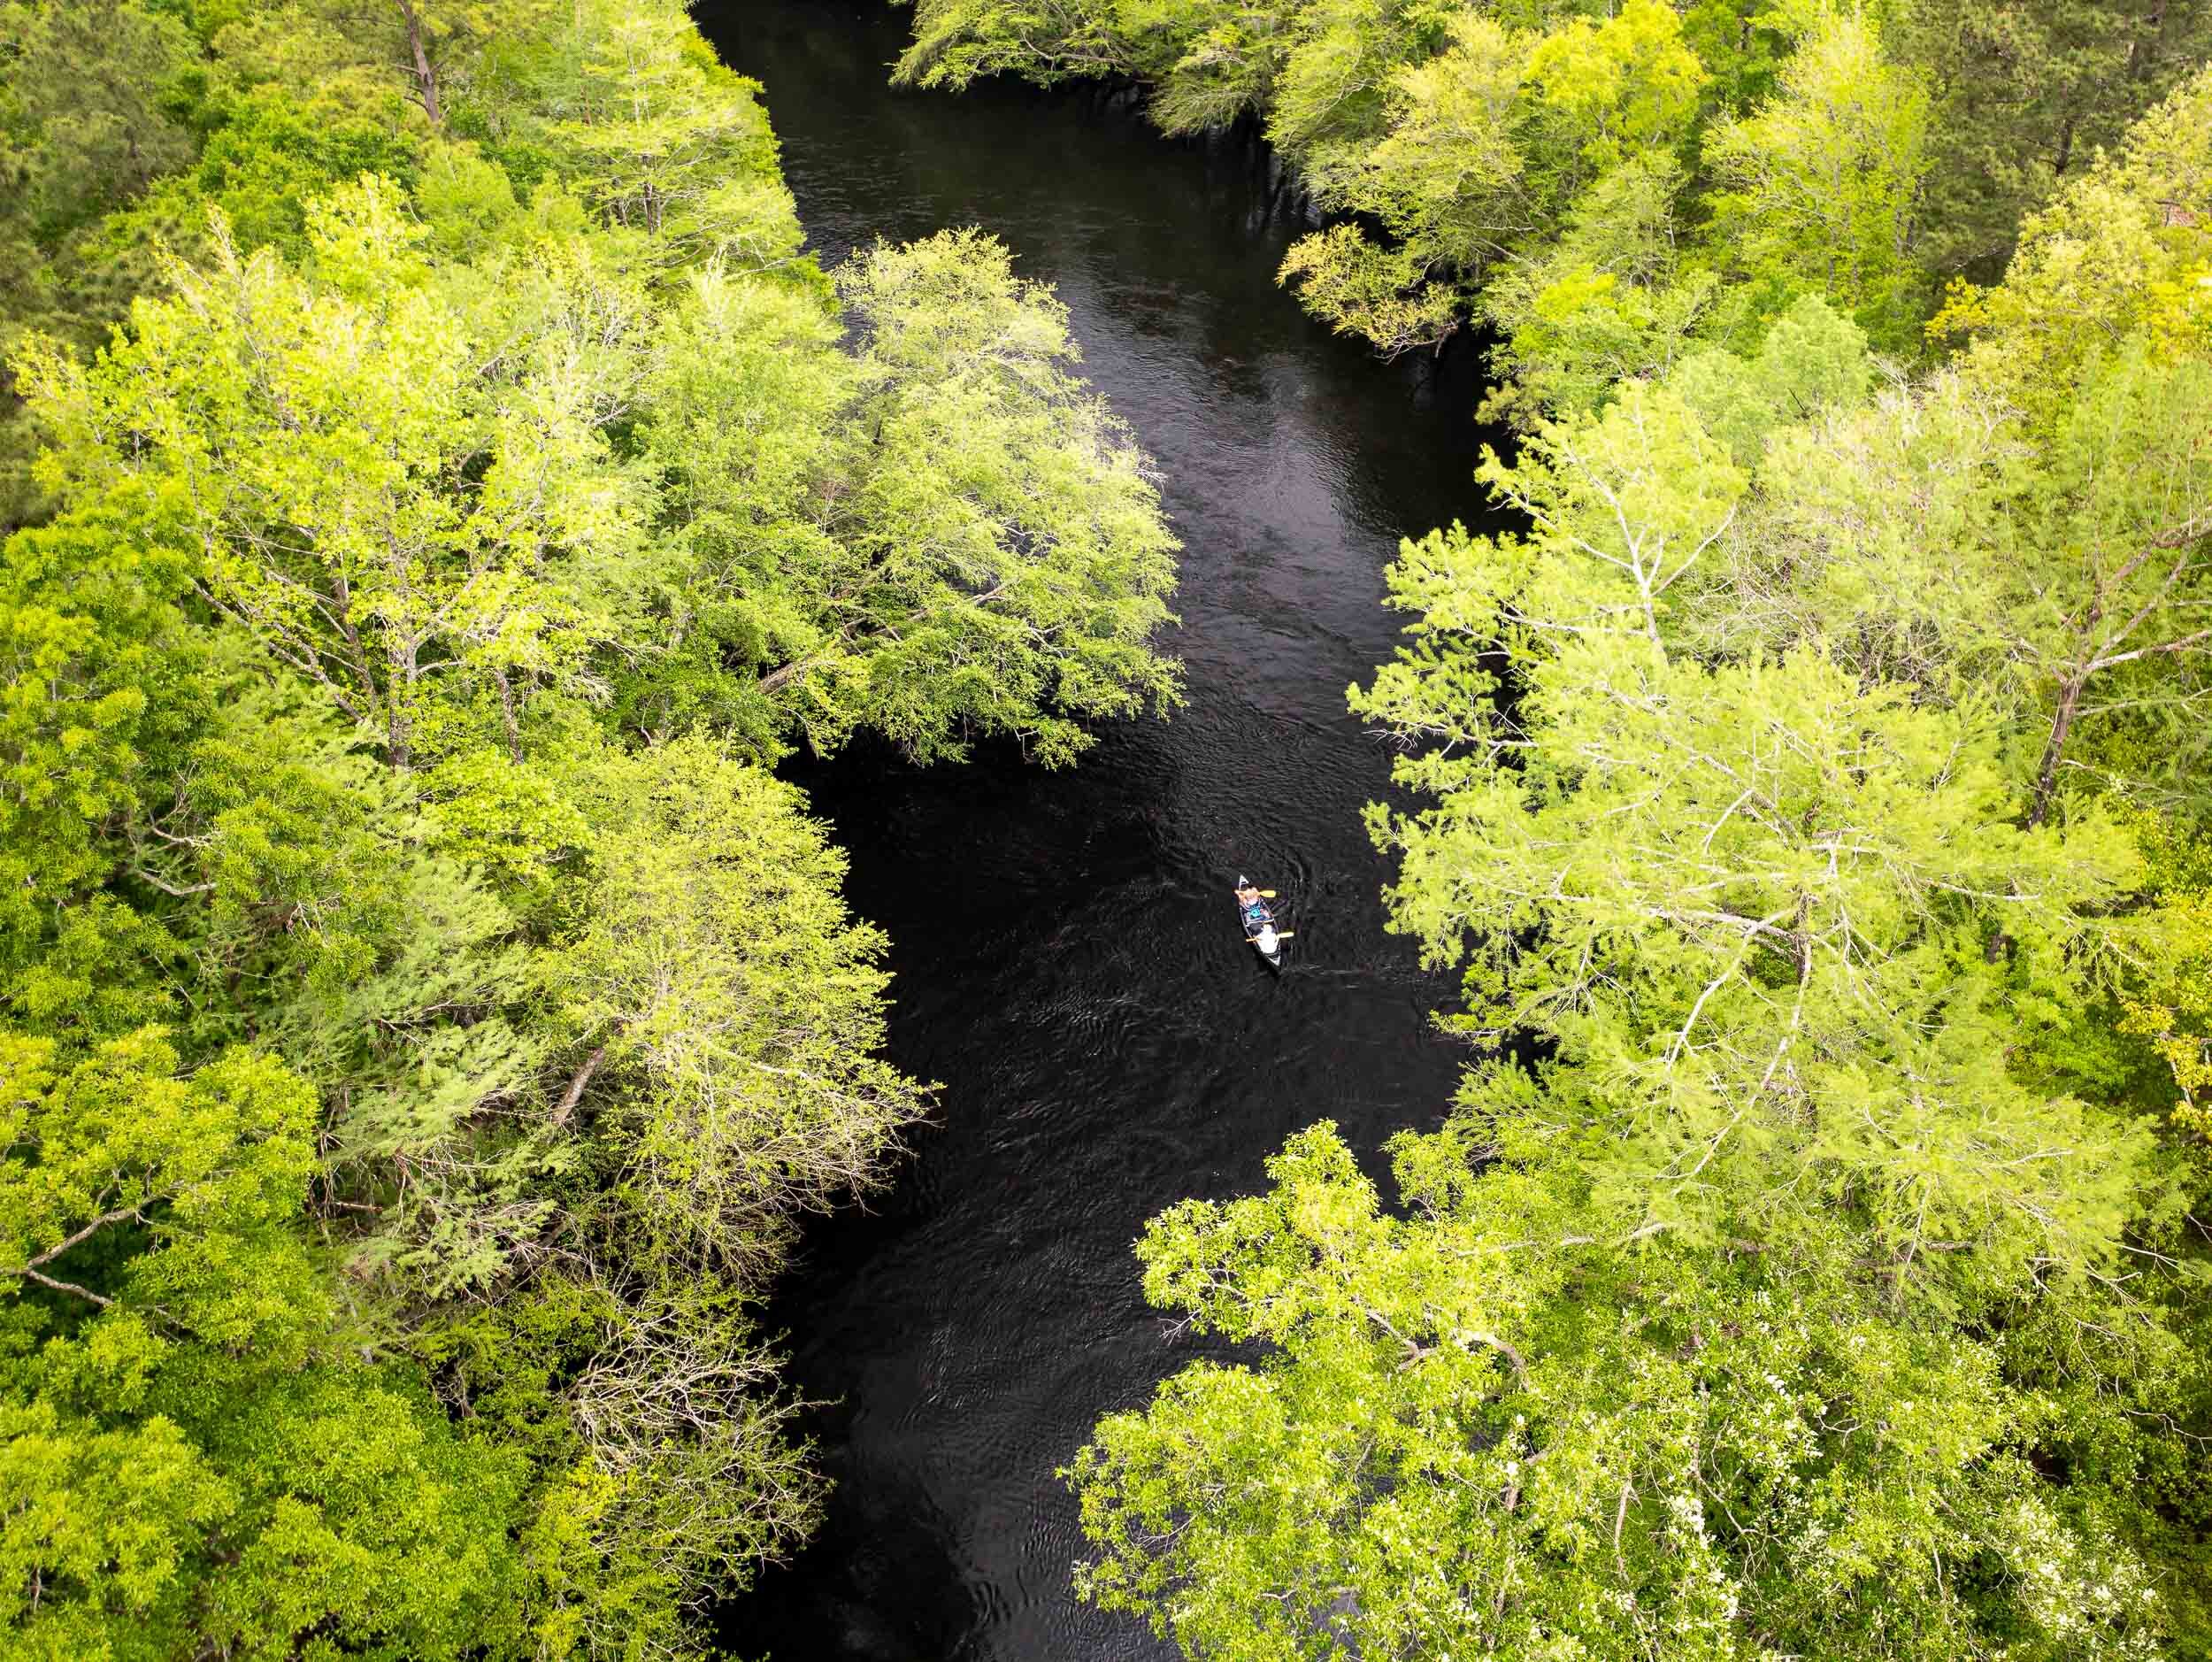
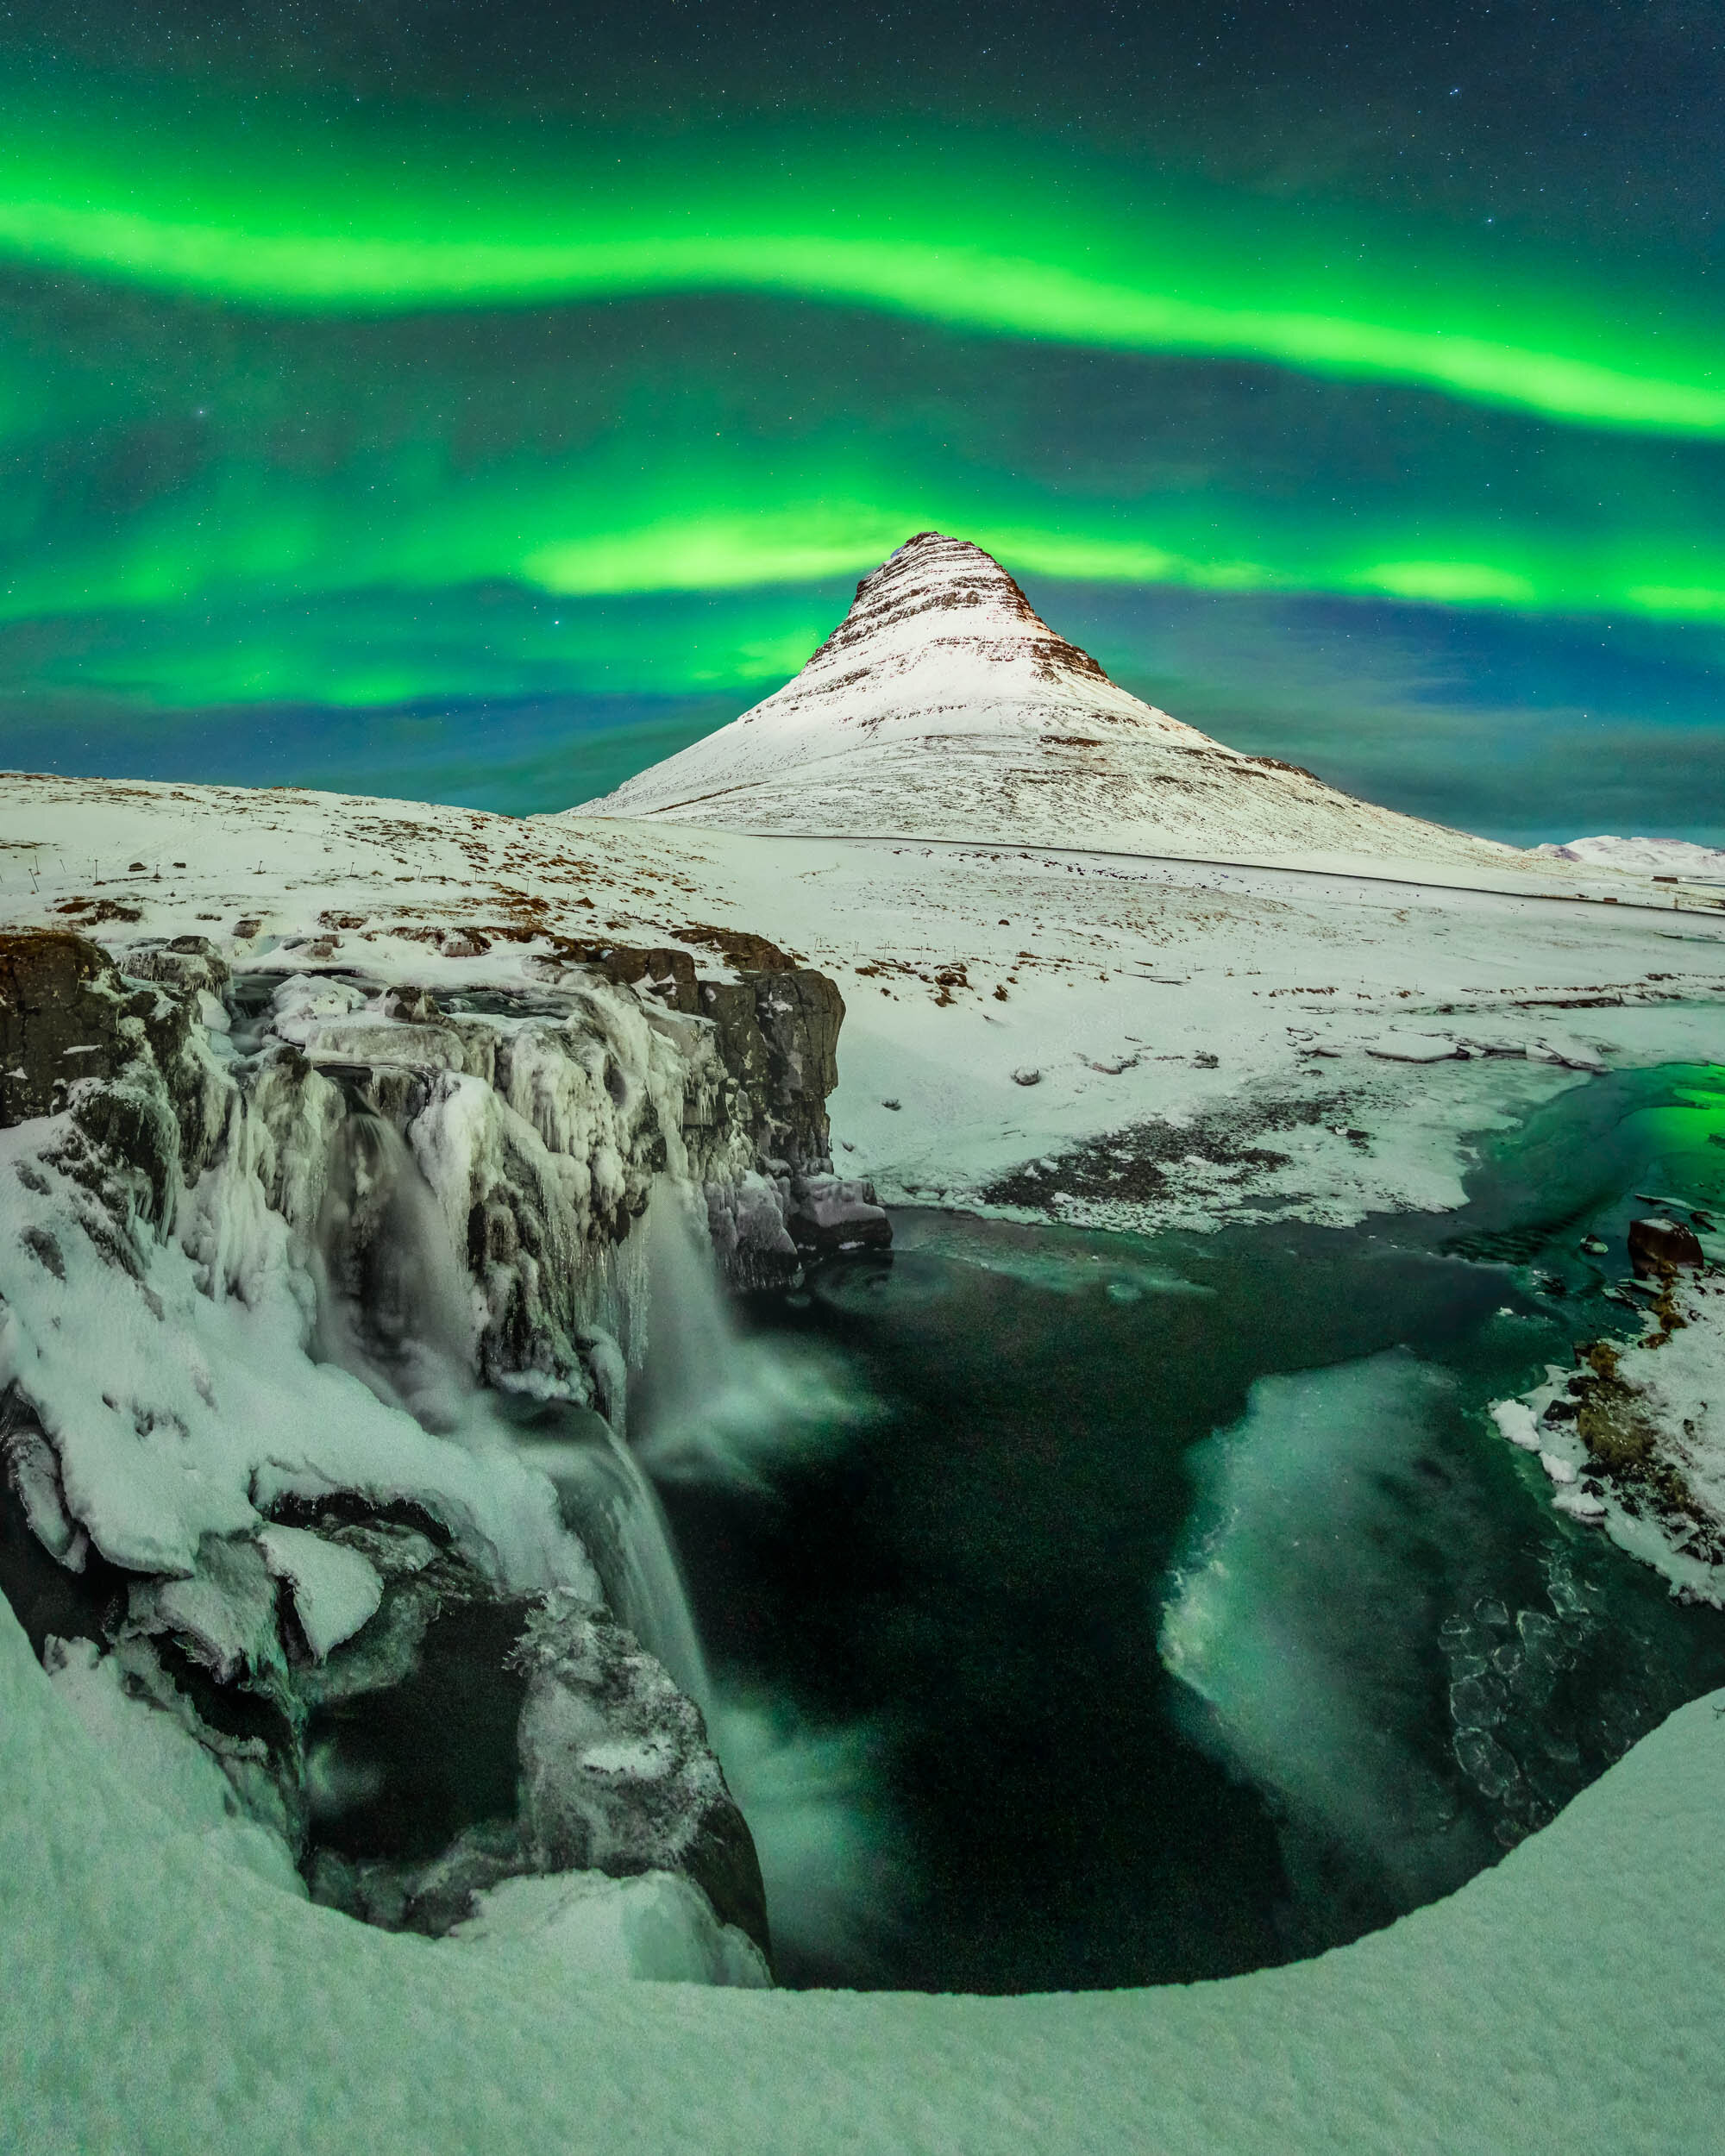
So if you planned to be in one of these locations when it is dark at night the next challenge is finding clear skies. Utilize weather forecasts to identify locations where the sky will be clear. This can be very challenging and may require many hours of driving to get to a clear location. I’ve found Iceland to be one of the best locations to be successful as there is a road going around the entire island and usually some part of the island has clear skies. A campervan is ideal for this as it allows you to chase the clear skies without having to worry about returning back to a hotel every night.

A campervan makes staying out all night to see the Aurora Borealis easy!

A campervan makes staying out all night to see the Aurora Borealis easy!

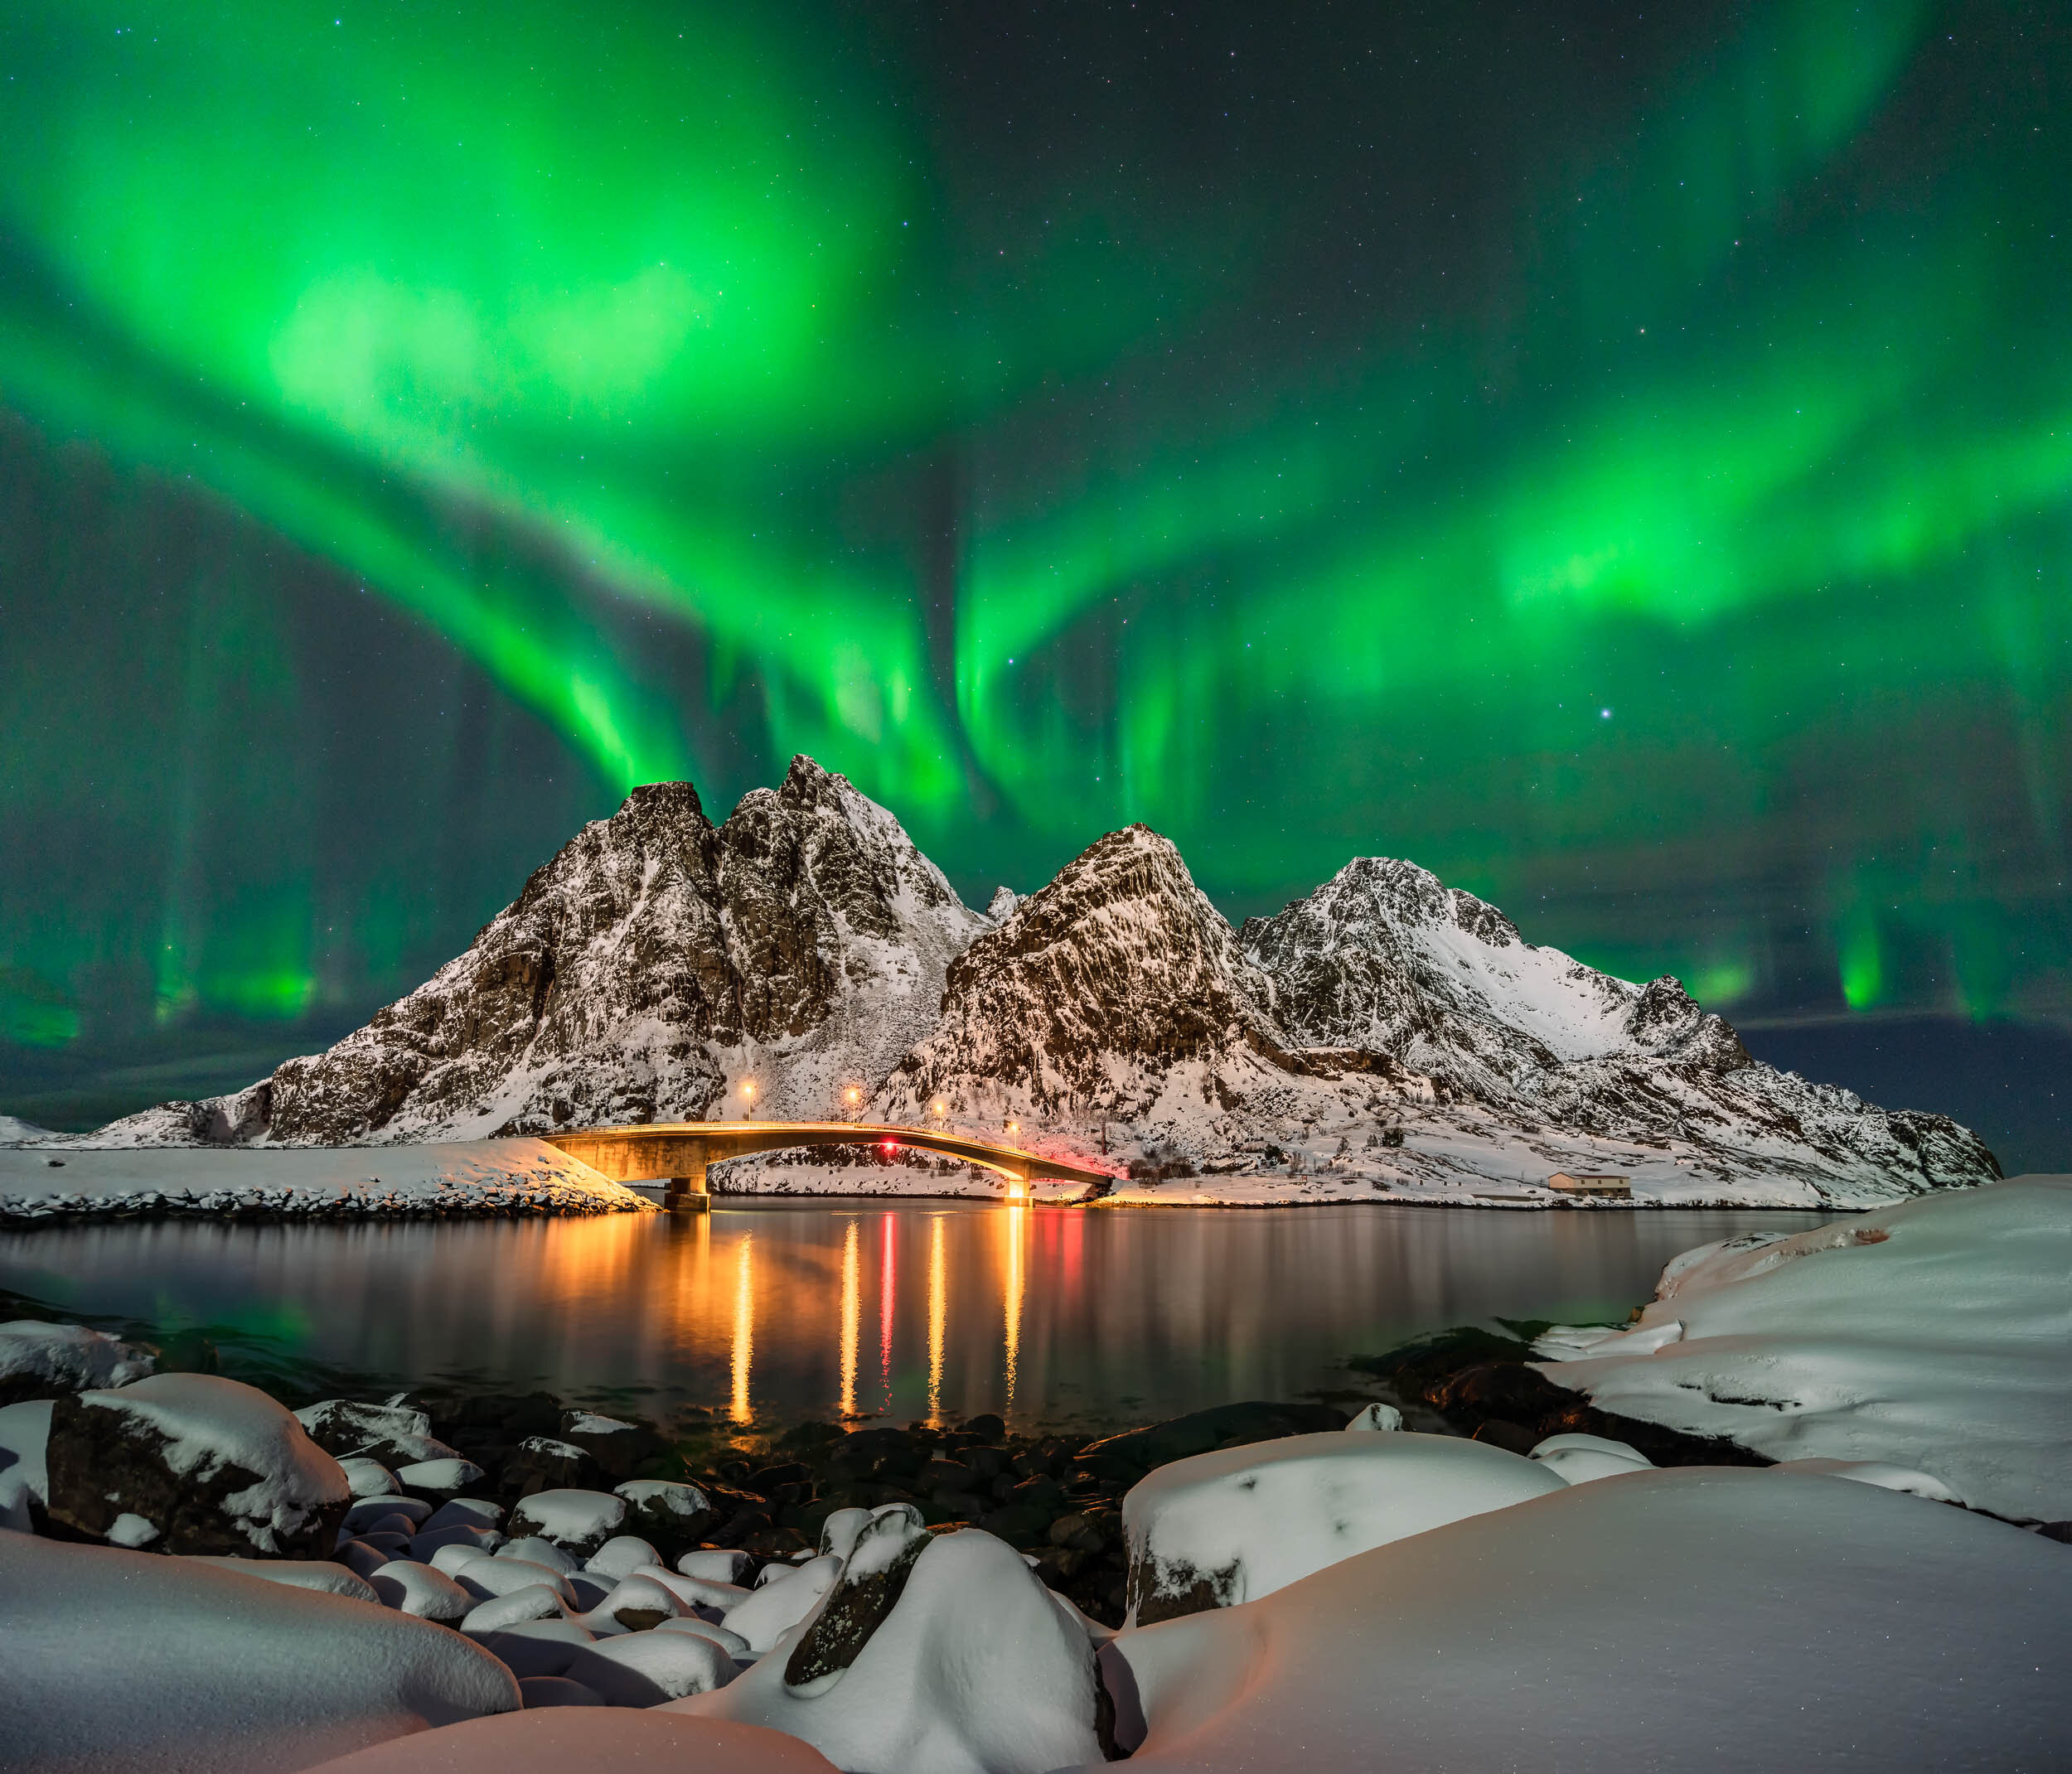
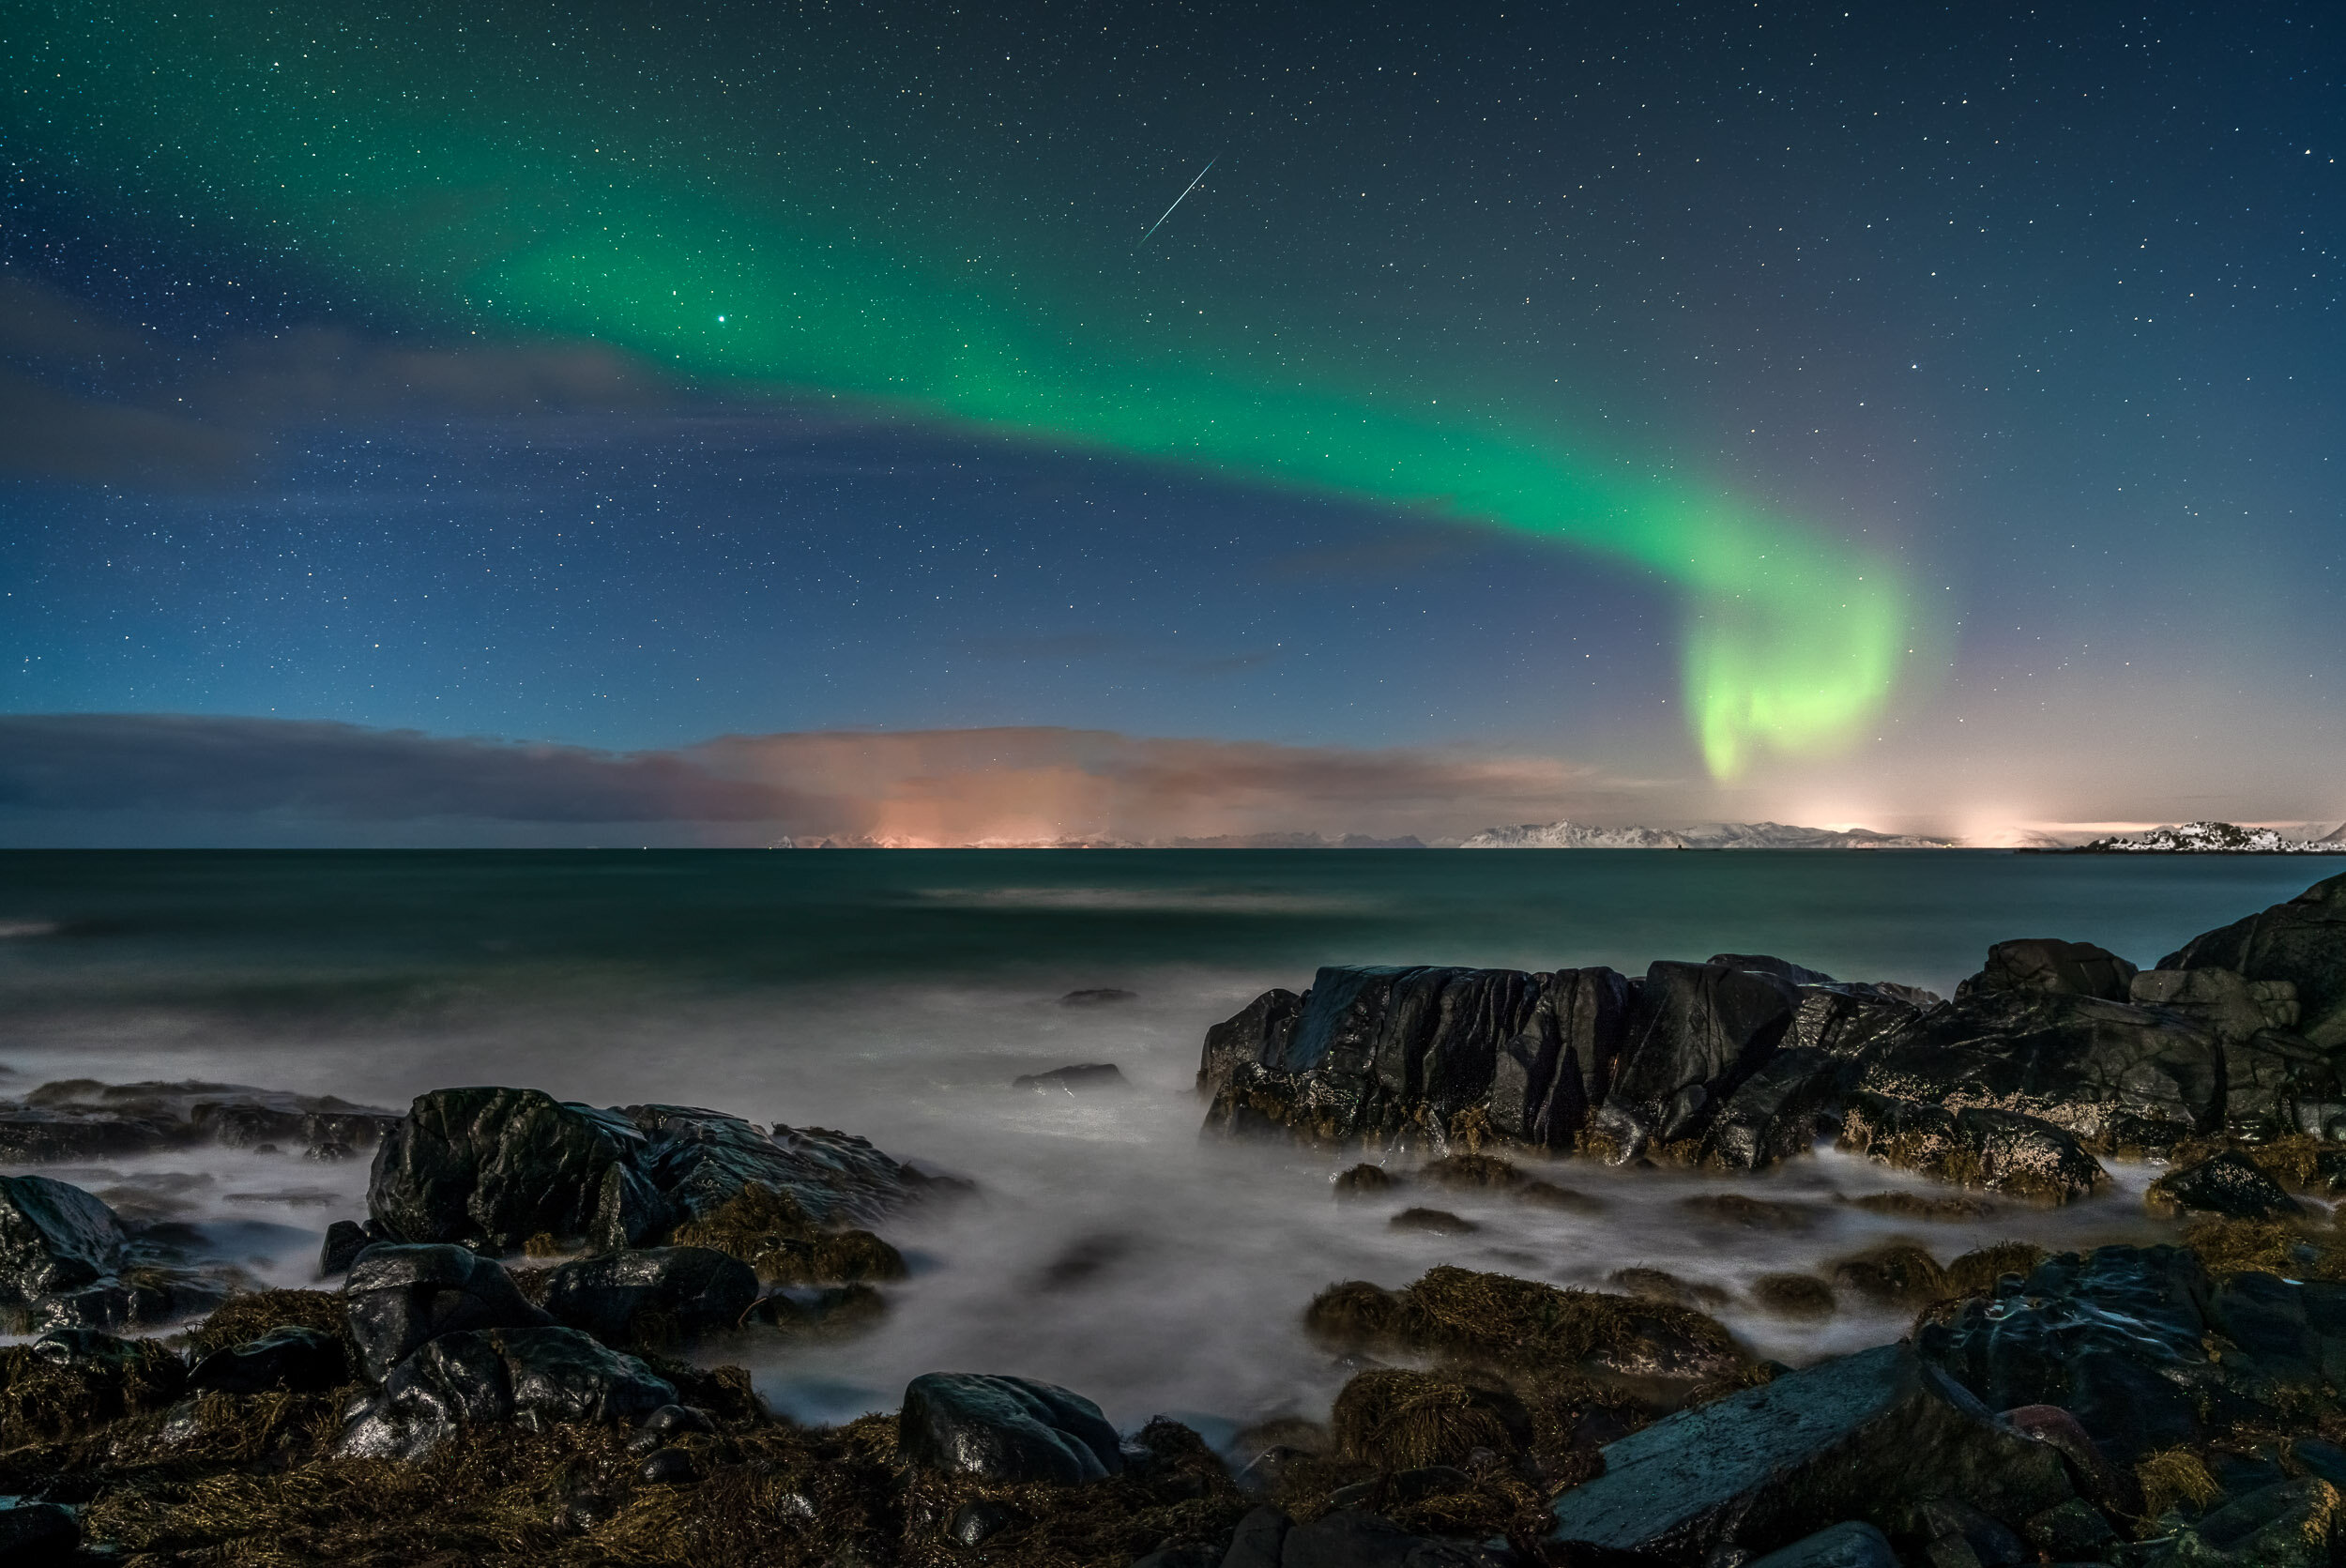
Aurora displays have a variety of intensities and while some apps claim to “predict” the aurora activity it’s best to just be out there ready to see them whenever you have the chance. The Northern Lights are usually most active from 9pm to 2am. It may start out as a single ribbon or glow of light on the northern horizon and then explode across the entire sky!

If you want to photograph the Aurora Borealis here are some tips:

  1. Use a tripod.

  2. Wide angle lens with the maximum aperture possible (f/2.8).

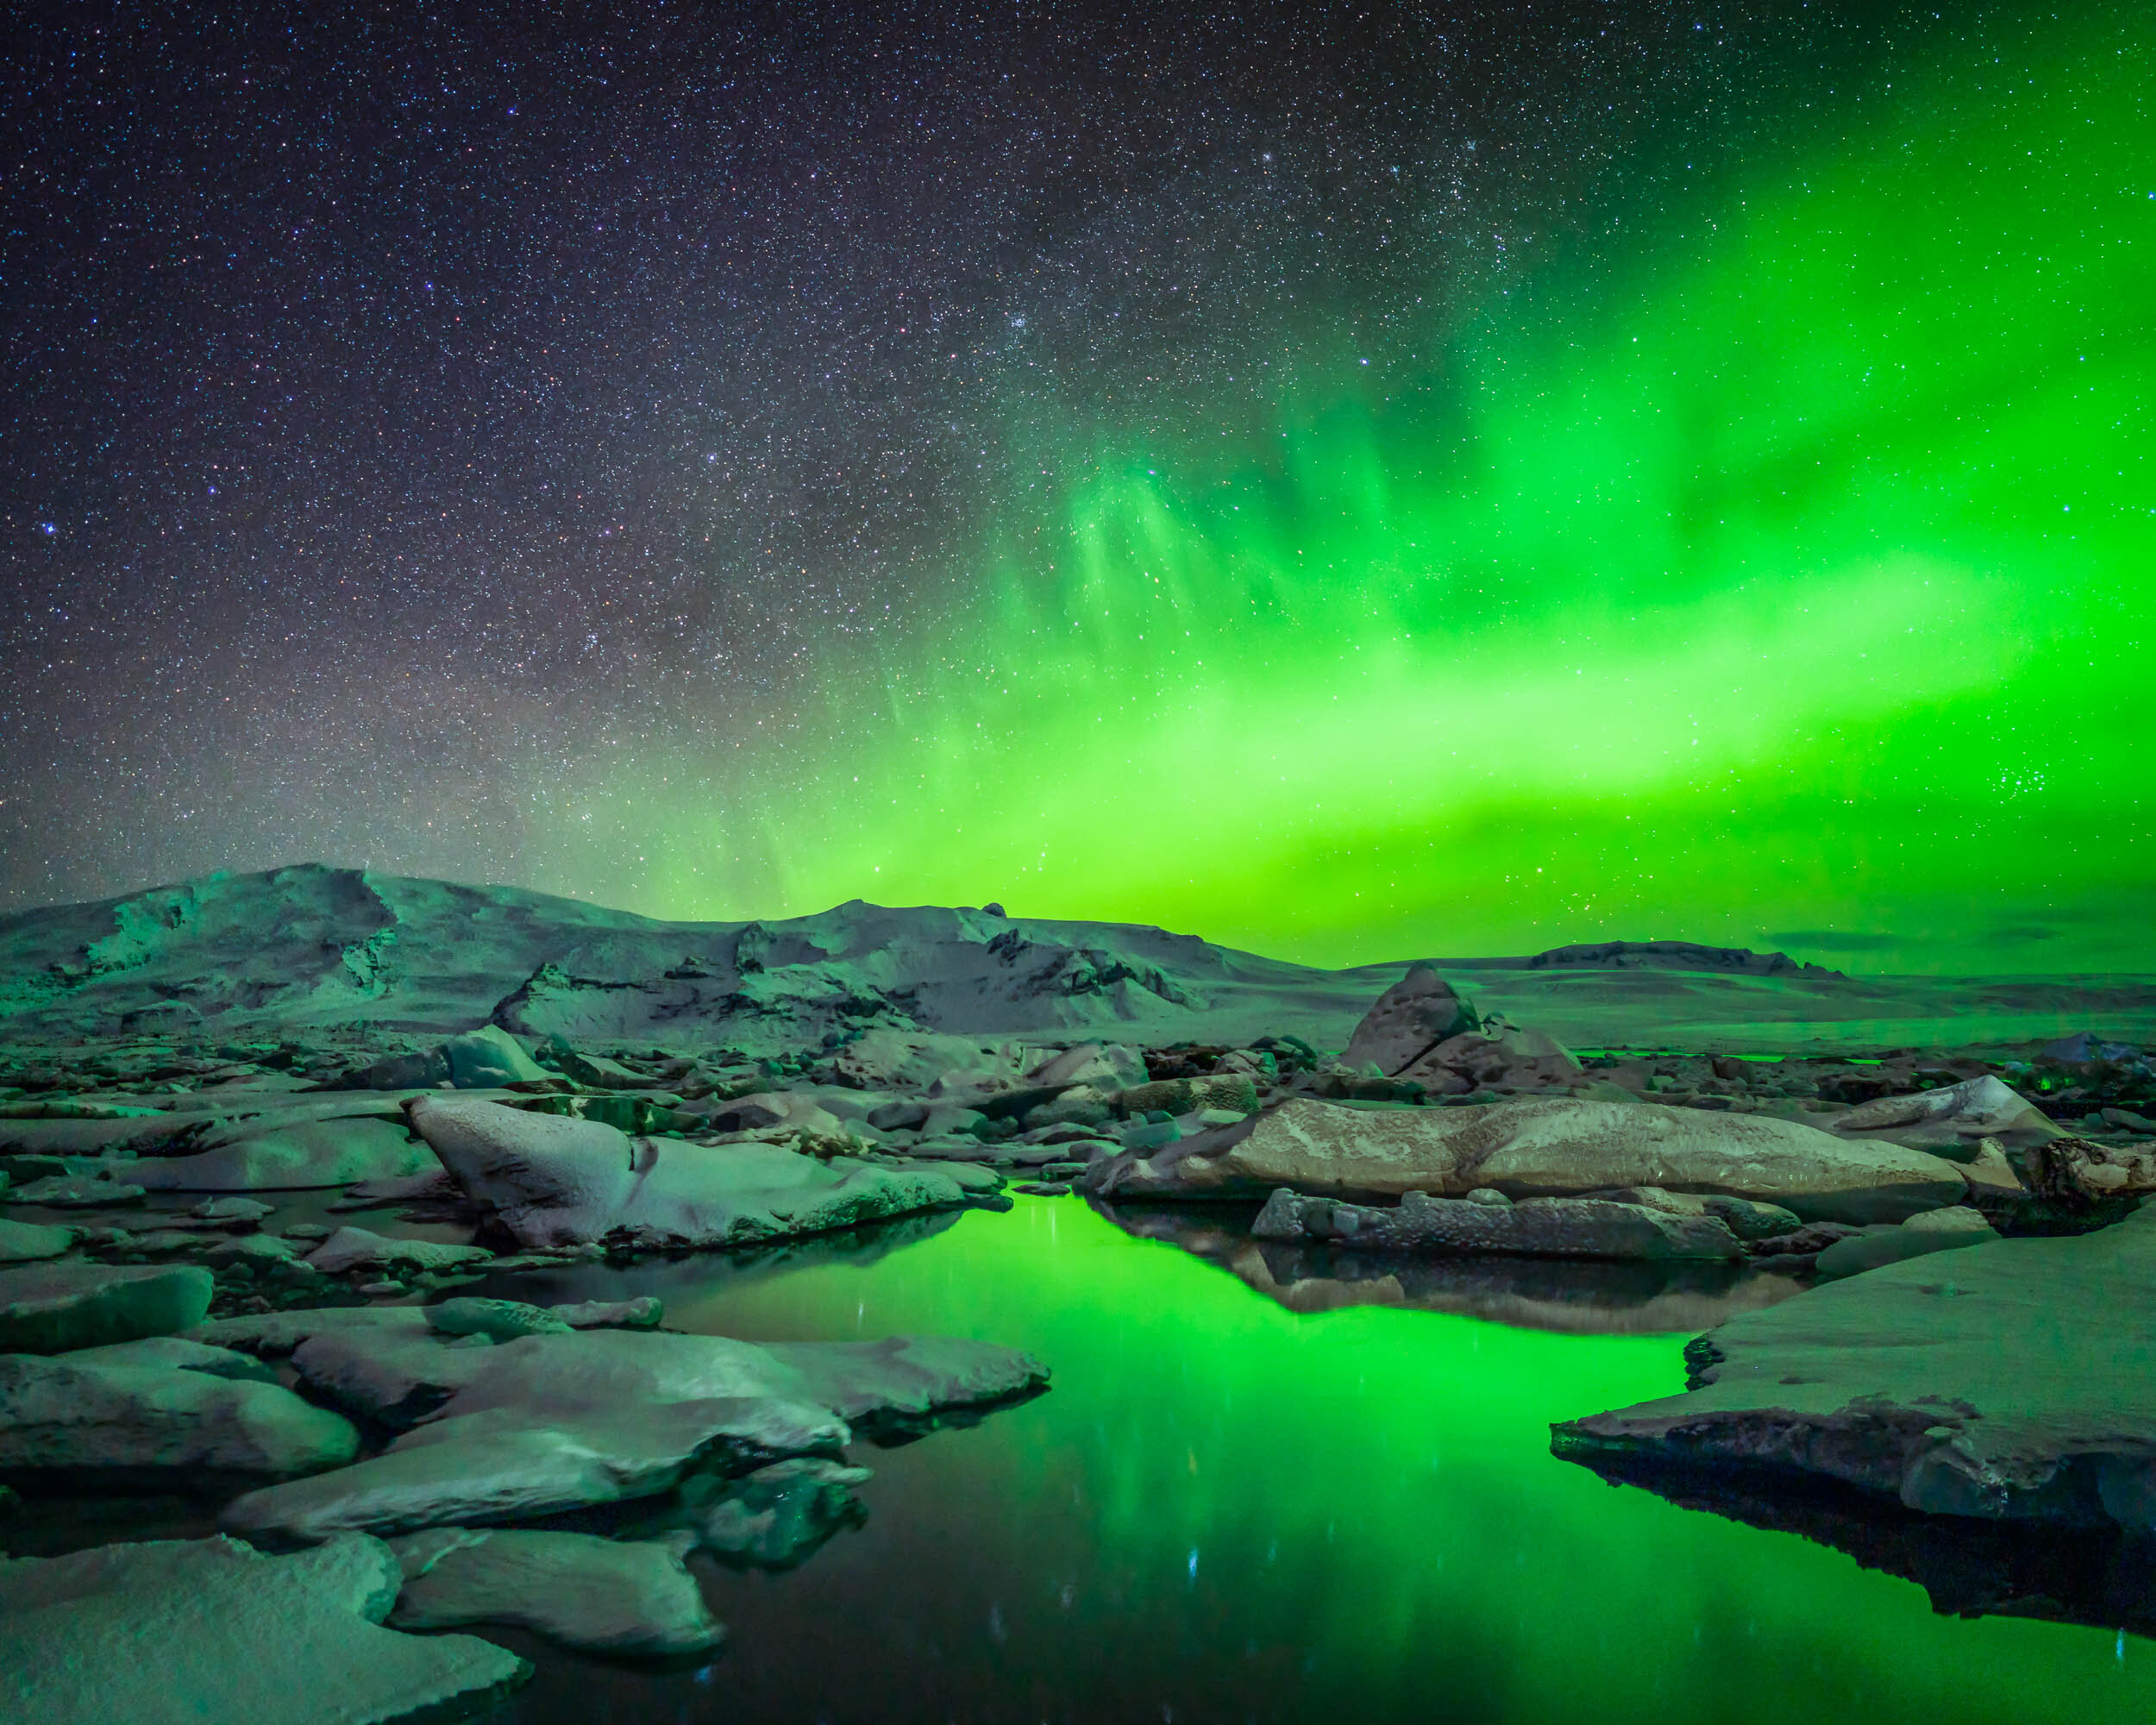
  3. Shutter speed 3-10 seconds depending on how fast the Aurora is moving. Too long of a shutter speed will create a green blob and you want to see the ribbons of light.

  4. ISO 200-6400 totally depends on how bright the Aurora is, on particularly dramatic displays you have to be careful not to overexpose the Aurora!

  5. I recommend setting up a timelapse as the Aurora is constantly moving and changing and this lets you capture many options and/or take a nap!

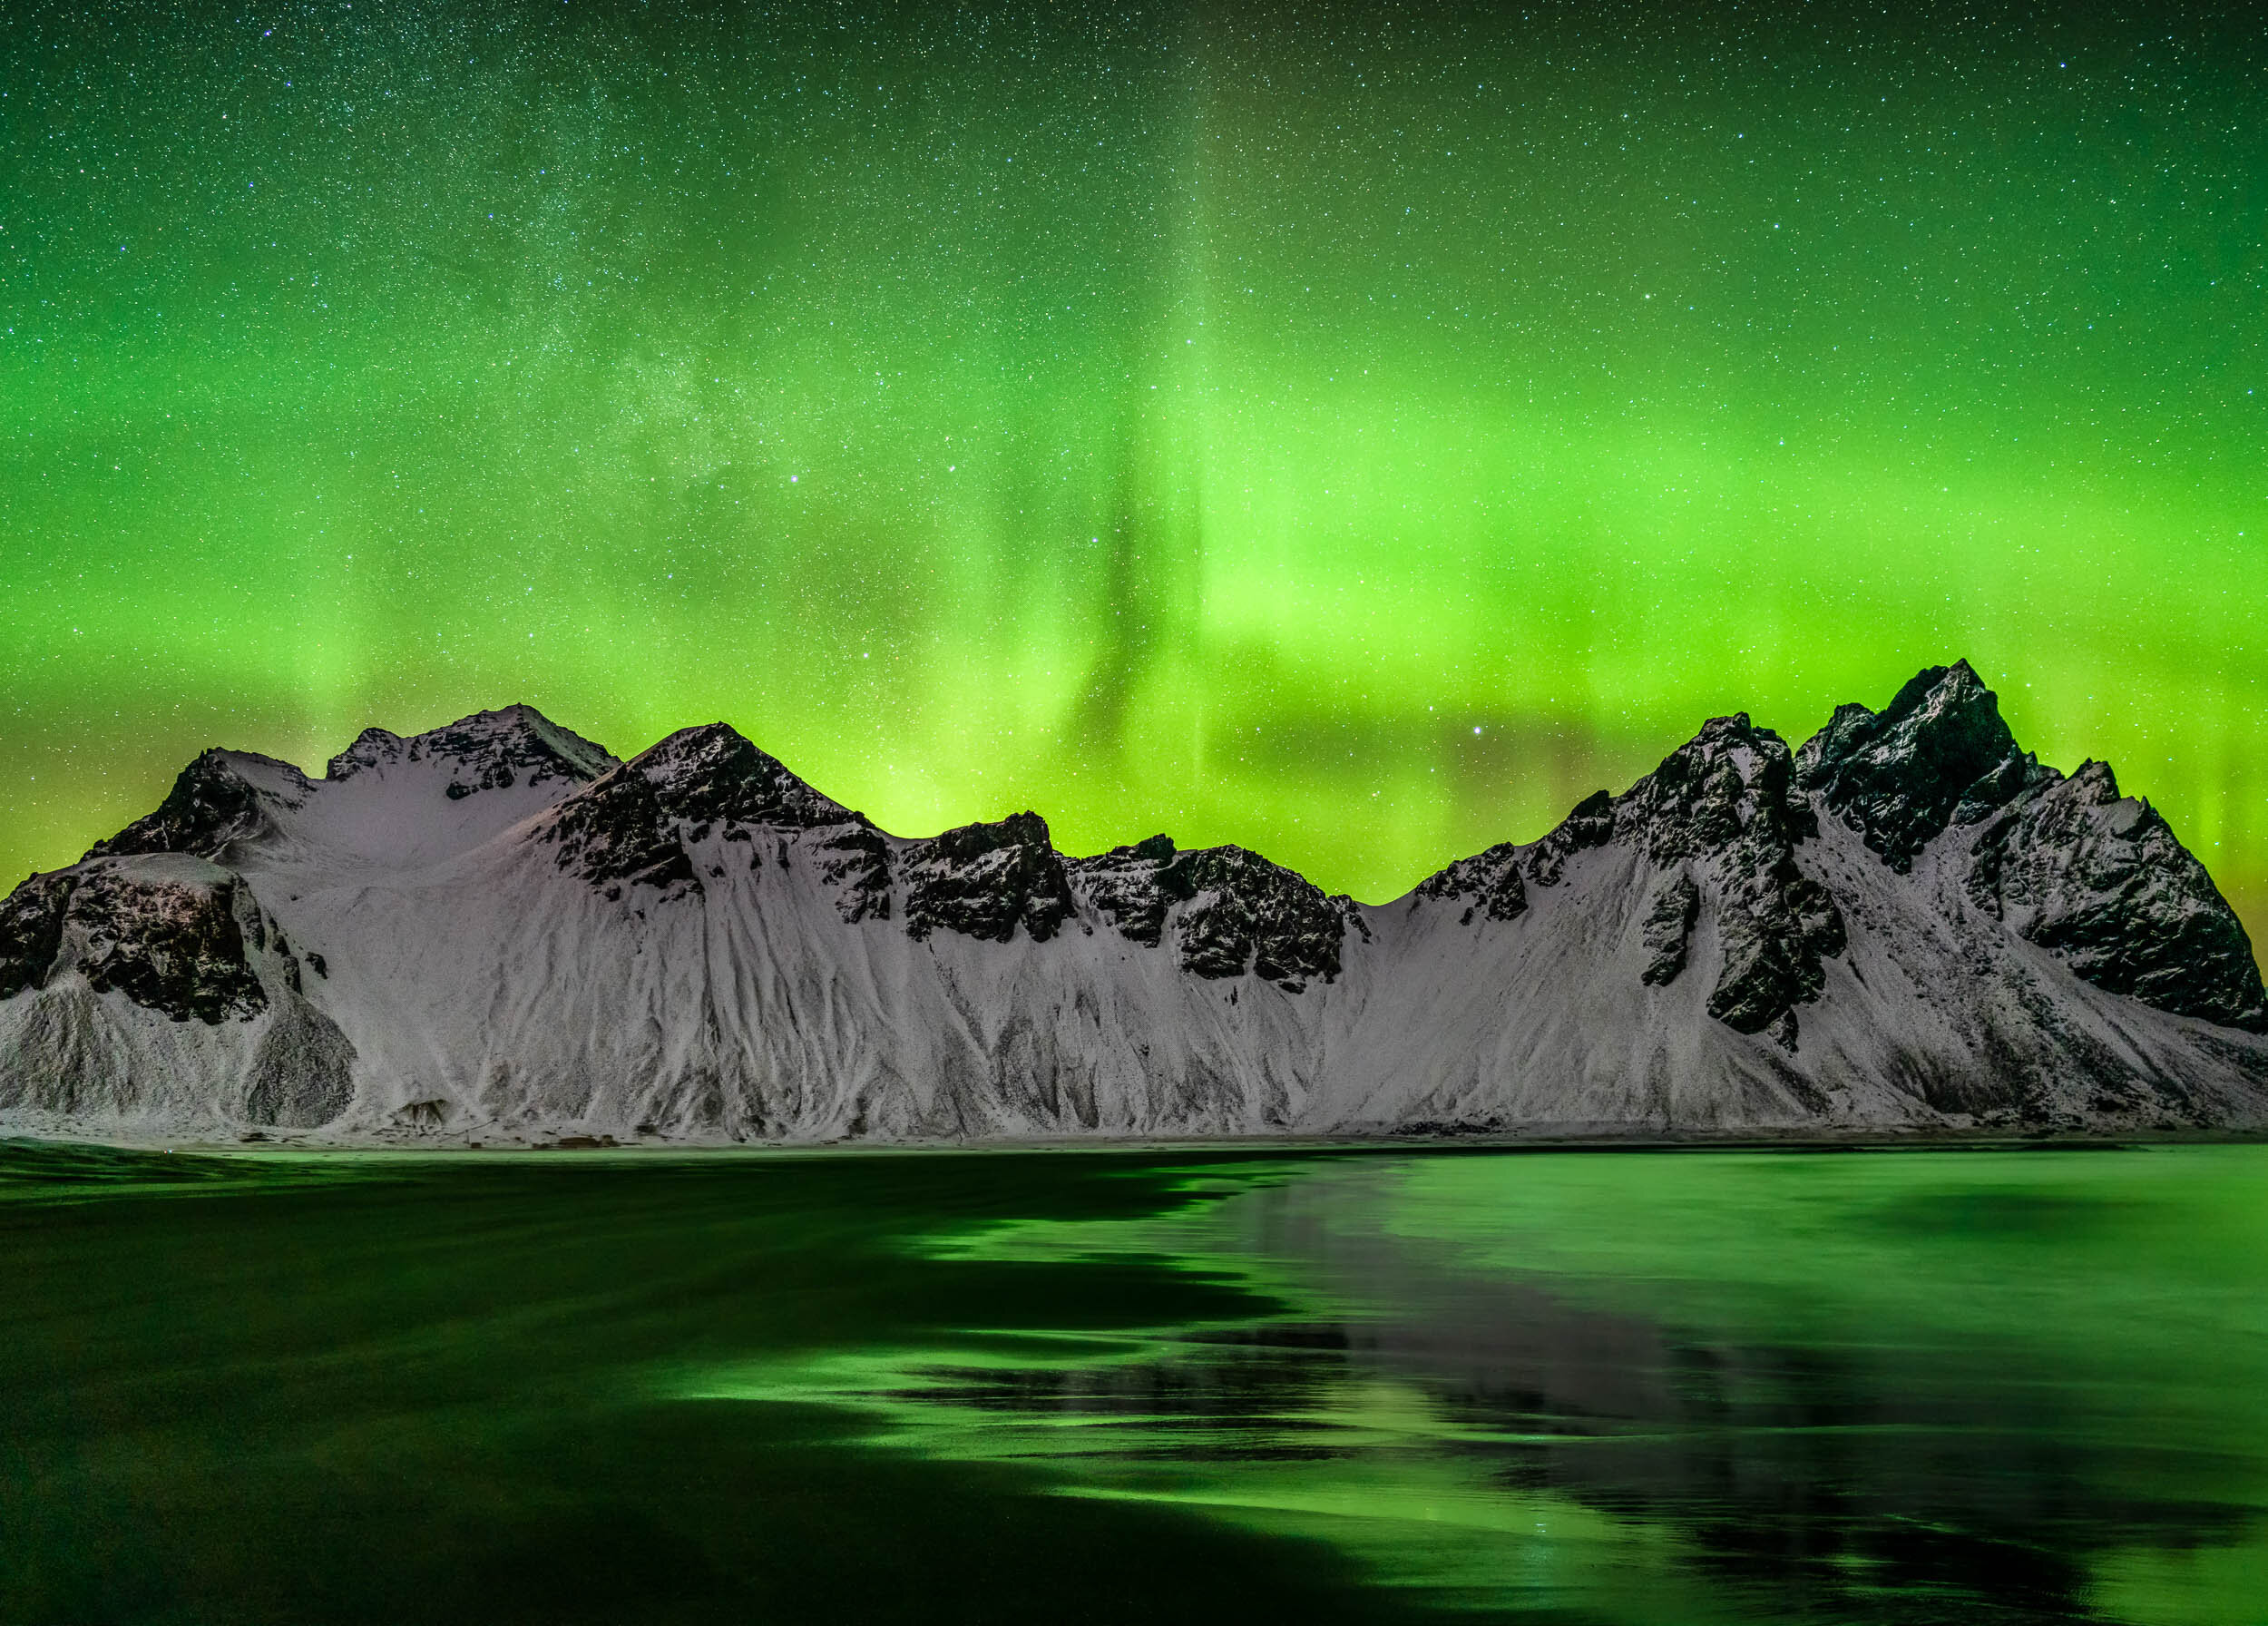
If you want to see the Aurora Borealis or Northern Lights with me feel free to contact me for private photography adventures to Iceland and Norway!

Speed Camping - 16 hours, sunset, sunrise, and a night outside

It’s hard getting some free time to go out early for a sunrise or late for a sunset. Forget multi day trips, work, school, family, sports…make those rare. Even if you schedule it far in advance will the conditions be good?

That’s why I’ve come up with a system for last minute trips that lets me get in a sunset and sunrise shoot (bonus stars at night if I’m lucky!) without missing work or too many responsibilities at home.

When I have a last minute assignment or suddenly the weather looks amazing I put my speed camping wheels in motion! I pack my bag for photographing the sunset and load up my car with everything else I’ll need to camp and photograph sunrise.

I leave late in the afternoon, maybe an hour early from work or after the kids are home from school. This gives me enough time to drive somewhere for sunset. Traffic is often bad but I’m getting to trailheads when most people are leaving so parking isn’t an issue. I try to choose locations that are less than two miles from parking so I have time to get setup and enjoy the sunset.

After sunset it’s back to the car. I always plan to camp somewhere near my sunrise location. I’m only going to be there a few hours, arriving after dark and leaving before sunrise. I’ll choose a place to sleep either in my SUV or a backcountry dispersed camping location. Leaving no trace, rarely anyone notices I’m there. Also a hammock tent is great for this as you don’t need a flat campsite, any two trees will work.

I think of my car as “base camp”. I pack it with extra clothes, camera gear, camping stove, water, and food. Then only take what I need to a campsite or shoot location.

So I give up some of the camping joys like campfires, s’mores, relaxing in chairs, and sleeping in. But I maximize my photo opportunities and get to enjoy sleeping outside.

Here is what my “Speed Camping” trips typically look like;

Day before - Pack and plan the locations on Google Maps, sunset, camp, and sunrise, including some backup locations. This is where local knowledge, scouting, and research really comes in handy.

4pm - leave home/work

6pm - arrive at a sunset location

Shoot sunset!

Eat a sub sandwich or if going back to my car boil water for a dehydrated meal.

8pm - drive or hike to a sunrise location

9pm - setup camp in the dark

Sleep or get up to photograph the stars!

6am - break camp and grab a quick bite to eat (granola bar, pop tarts)

Shoot sunrise

8am Warm up some coffee and head back home or to work!


Drone Travel Photography

A drone is an amazing tool for photography editorial assignments. It provides an easy “establishing” shot of your main subject. Like how the opening scenes of a movie that often starts with a big wide aerial shot of the city or environment where the story takes place in. It also lets you get perspectives that are otherwise impossible or unsafe to reach. However flying a drone is a federally regulated activity and requires a lot of pre-work to be done before you can start taking commercial drone photos. I’ll quickly describe here the steps to get ready to take commercial aerial photography and some tips to improve your photos.

Here is my brief outline of how I recommend those interested in drone photography to get started.

  1. Buy a “starter” drone. Don’t buy the best drone for you right away. You need to learn how to fly in control and develop confidence that each flight isn’t going to end in disaster (which is usually learned by experiencing a few scary moments and learning how to avoid them in the future). This is Risk Management which is part of the FAA training for pilots.

  2. Register your drone with the FAA. Unless your drone weighs less than 0.55 lbs and you are only using it for recreation. It’s $5 and you must write the registration number on the outside of the drone.

  3. Get your Part 107 Remote Pilot certification. This is very important as it is the best way to learn where it is legal for you to fly! Also it is required to use your drone for commercial purposes. Preparing for the exam is a lot of work, expect to spend a week going through the regulations, watching YouTube videos, and taking many practice exams. I don’t recommend buying a course as there is plenty of free information available to help you study online.

  4. Check for any other country, state, or local drone requirements. For example North Carolina requires an additional “UAS Commercial Operator Permit” and Switzerland requires a million dollar insurance policy (which is easy to obtain through a number of drone insurance apps).

  5. If you have followed these steps you should know how and where you can fly. This is critical as you can be heavily fined for violating the regulations.

Now that you are flying here are some tips for using your drone for photography.

  1. Carry your FAA registration, Part 107 certificate, and any other required permits with you at all times.

  2. Buy a circular polarizer for your camera. It reduces reflections, saturates the colors, and provides a bit of exposure reduction for smoothing out waterfalls.

  3. Yes you can photograph waterfalls! Use the “Tripod” mode and a shutter speed of 1/5 to 0.5 seconds are possible. The slow speed of Tripod mode is also very useful for navigating near trees.

  4. Buy a colorful skin for you drone in case it crashes and you have to go find it…

  5. Experiment with different perspectives and angles. The early tendency is to just go high (400 feet max remember). However think of it as a taller tripod and use it to get to angles that you couldn’t reach yourself.

  6. The sensors in drones are improving but the dynamic range and detail is not going to compete with the latest digital cameras. Therefore always exposure bracket and limit high dynamic range scenes. Also to increase the resolution consider taking panoramas, overlapping the images by at least 50%.

Finally be safe, respectful of others, and have fun!

If you have a need for aerial drone photography or want a one-on-one private lesson don’t hesitate to contact me for rates!